9/8/2020 - 4/30/2021
Rainbow Vomit
TouchDesigner, Python, GLSL, Blender, Ultra Wide Band, MQTT, Node-Red, Arduino, Electrical, 3D printing, Site Surveying
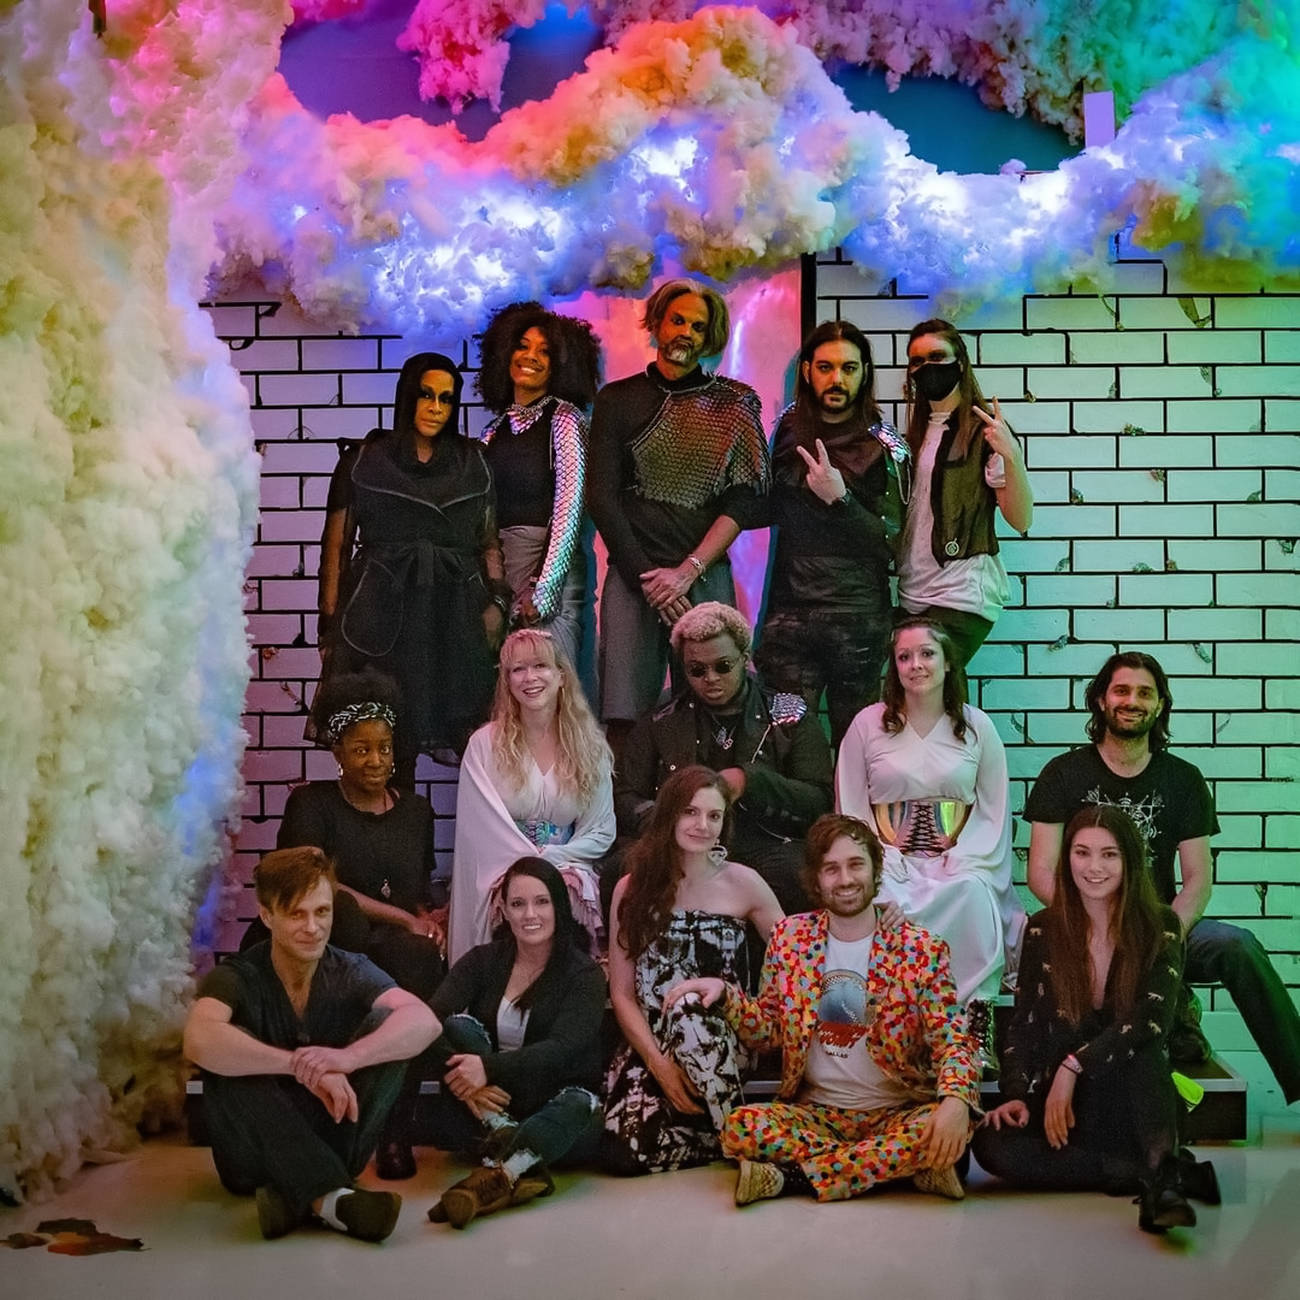
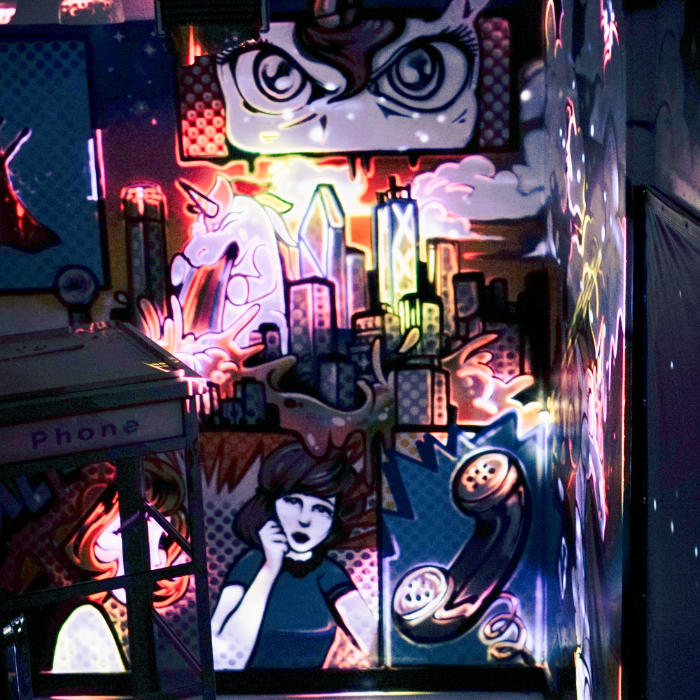
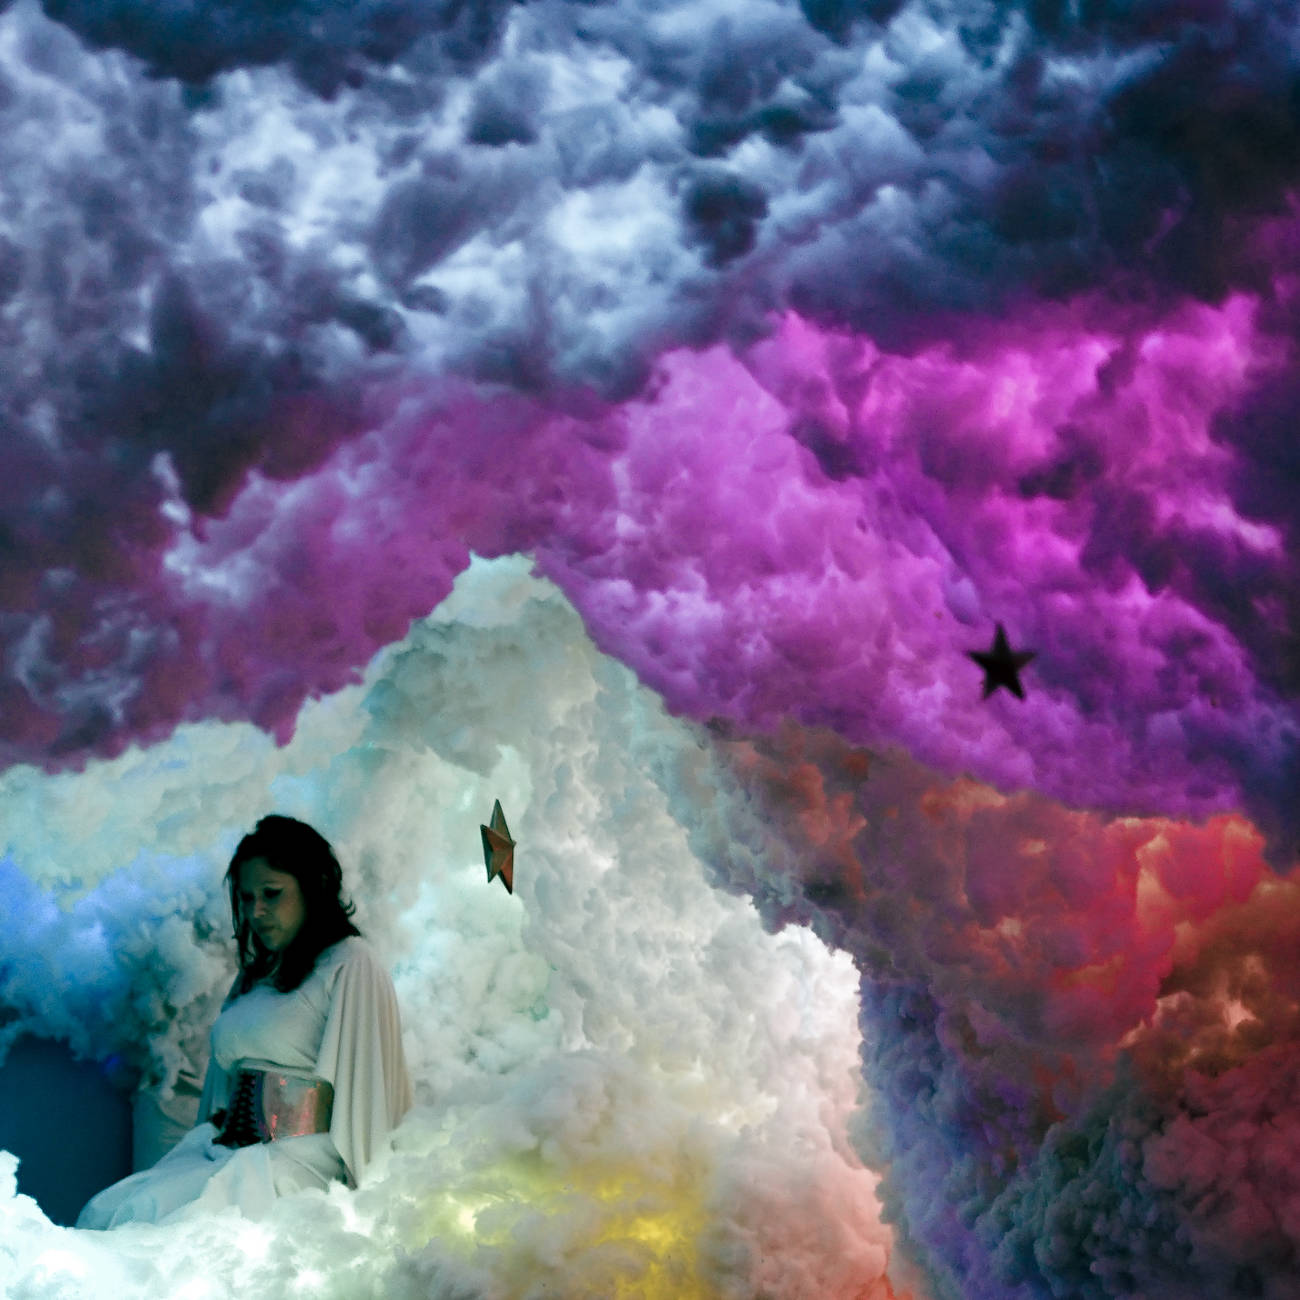
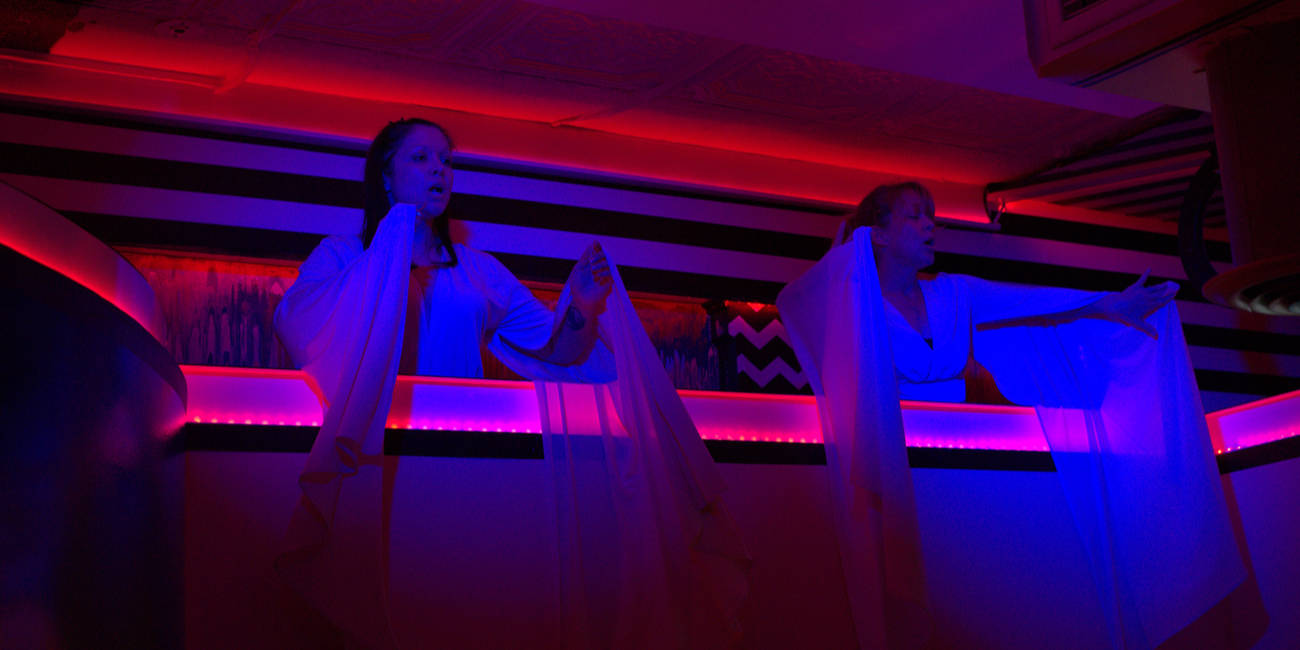
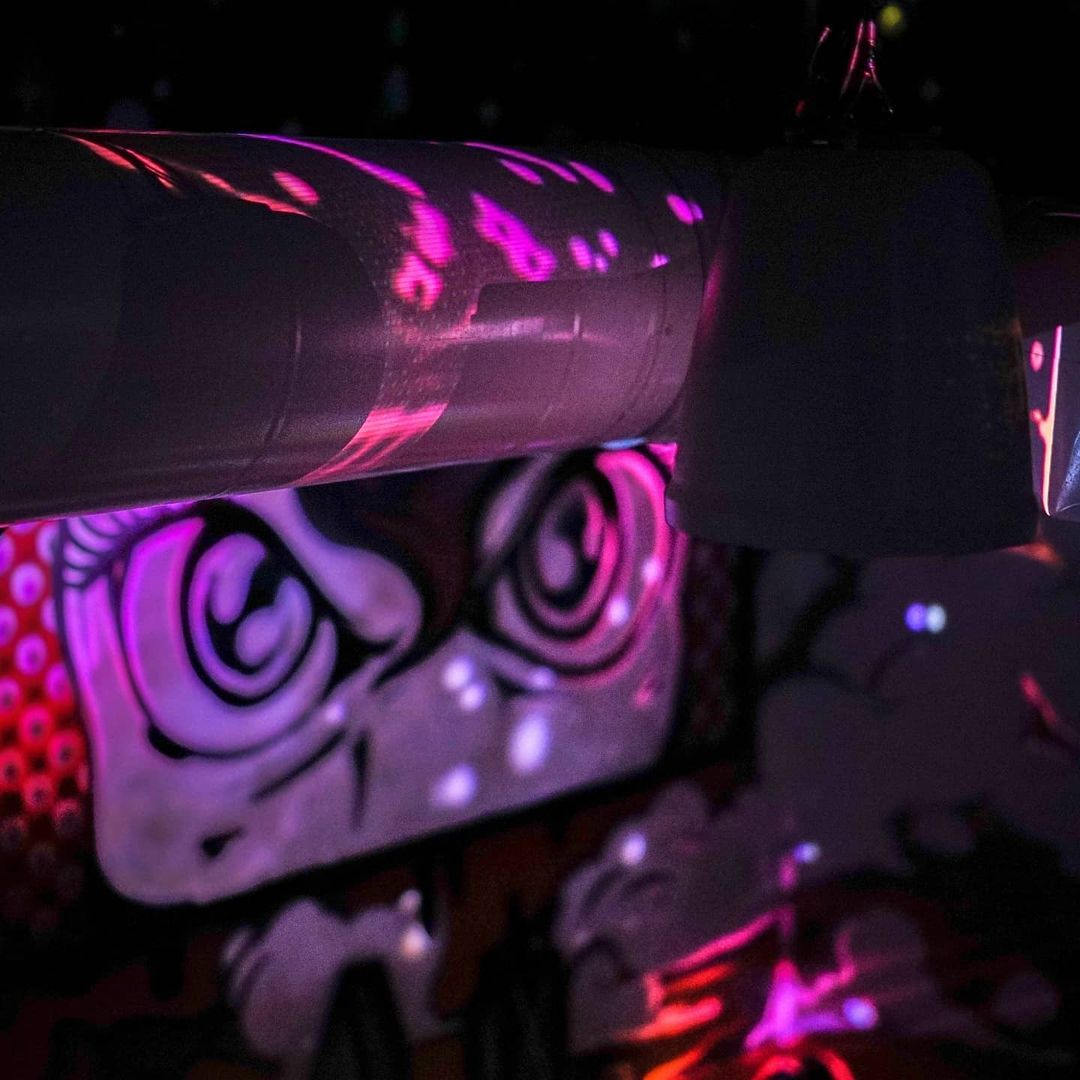
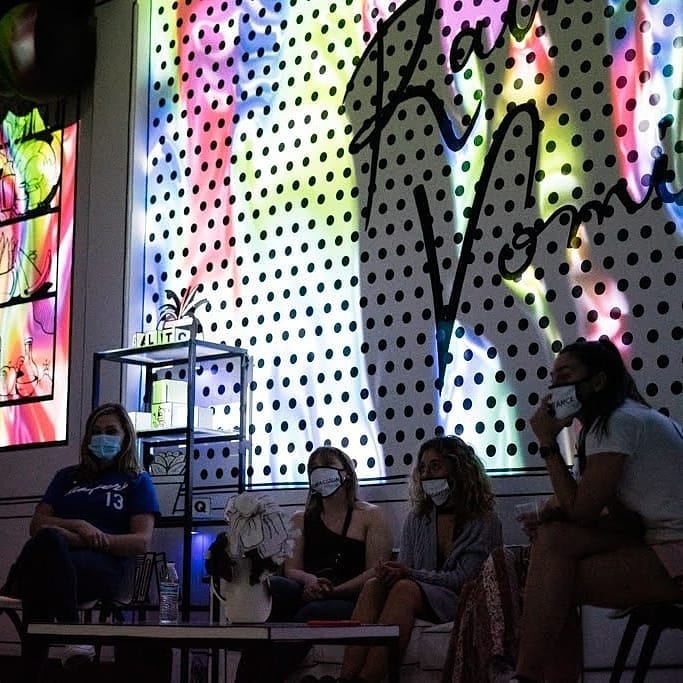
Transport yourself to a magical, surreal world of color and art at Rainbow Vomit! Become the hero of your own comic. Watch your book come to life and discover the secret of this fantasy world of art, light, and sound.
There are more than 20 Instagram-worthy photo spots in our art installation that will kindle your imagination and create memories that last a lifetime.

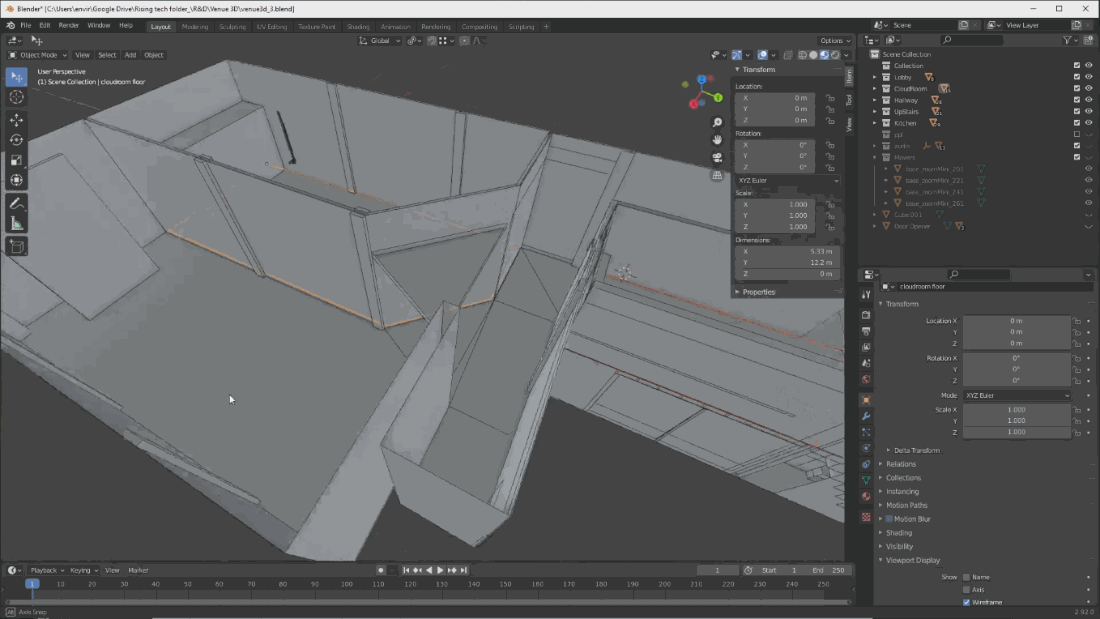
One of the first tasks I took to in the beginning was the process of surveying the venue. I created a detailed, to scale 3D representation of the venue architecturally in Blender. Since it is a smaller space, I was able to handle the entire process over several days using a digital laser measure, as well as a traditional tape measure.
This 3D file would end up being the cornerstone for everything from spatial mapping, and moving light auto follow functionality to full guest tracking using their Egg props through out the space, allowing them to interact with everything.
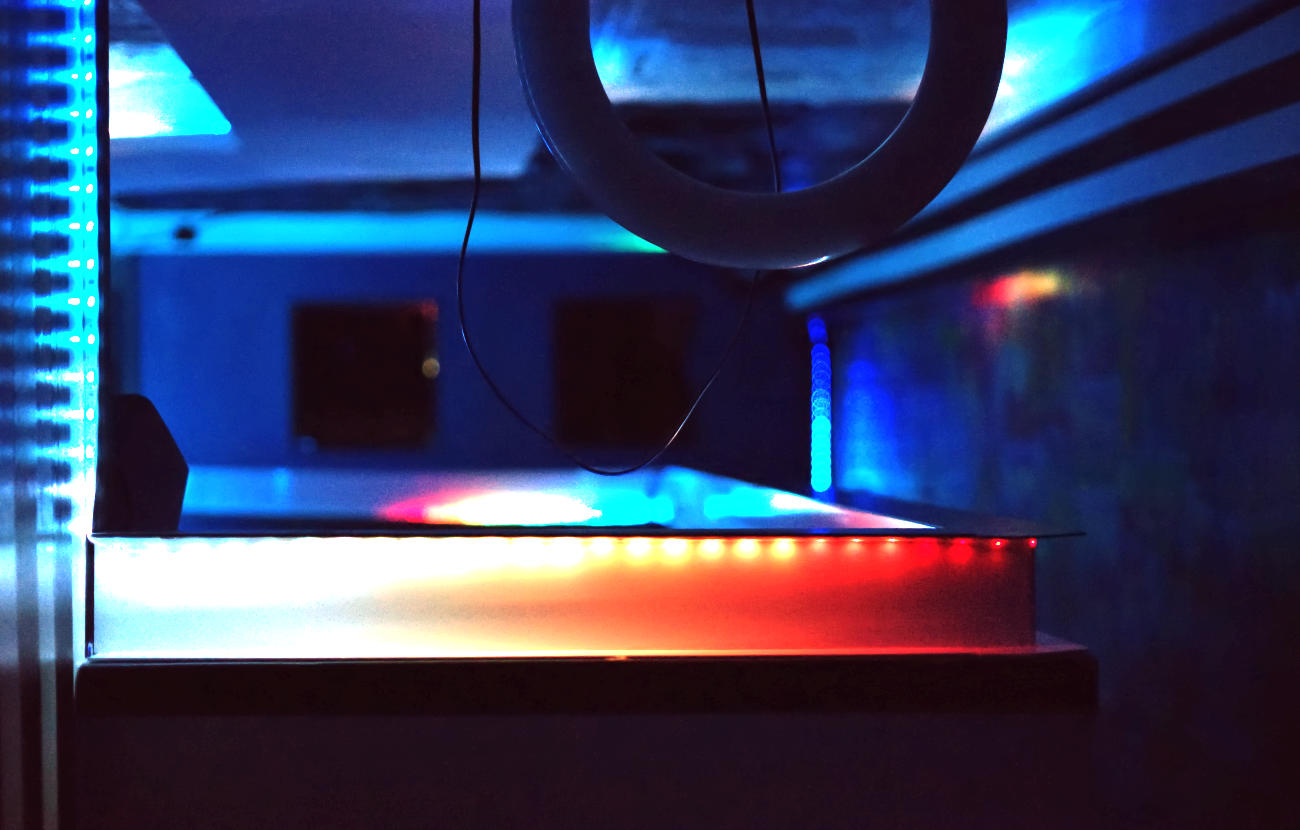
No lighting project is complete with out it's fair share of addressable LEDs. Rainbow Vomit already had a lighting system with addressable pixels installed from some time ago, however there were issues with it that prevented us from having full artistic control over every pixel.
The primary issue was that there were several instances where two strips shared the same data line, which meant that no matter what coordinates we used one of those two strips would be mapped incorrectly, spatially that is.
So I set to work running new led cable for every strip that was sharing a data line with another, and running that back to the pixel controller.
Once this was done, I was able to step through the outputs one at a time, and validate that each would light up independently of all the others.
There are 3 boxes to "check" when pixelmaping a space. First, the number of pixels per output needs to be known. Second the 2D, or 3D position of each of those pixels need to be known, and lastly the address of that strip needs to be known. Aka what output, what universe/channel, etc.
Since this information was not recorded anywhere(and we had changed it anyways), I used a technique I've used many times before, where I light each pixel controller's output up entirely, then change the number of pixels I am lighting up within that output, and move it down or up until the last physical pixel lights up, then I record that number.
I wanted a way to record all of this information in a non fragmented way that could also tell me about the spatial layout of the strips simultaneously. So using the Grease Pencil feature in Blender, I annotated directly on top of the 3D mesh of the venue, and moved it to it's own layer.
Once these figures were translated into actual 3D curves in TouchDesigner and subdivided by their pixel physical counts accordingly, the pixel mapping was done.
We did periodically add more LEDs to the system as the months went on as needed to introduce proper lighting in various darker areas. This was much easier to handle down the line though since the ecosystem had already been setup.
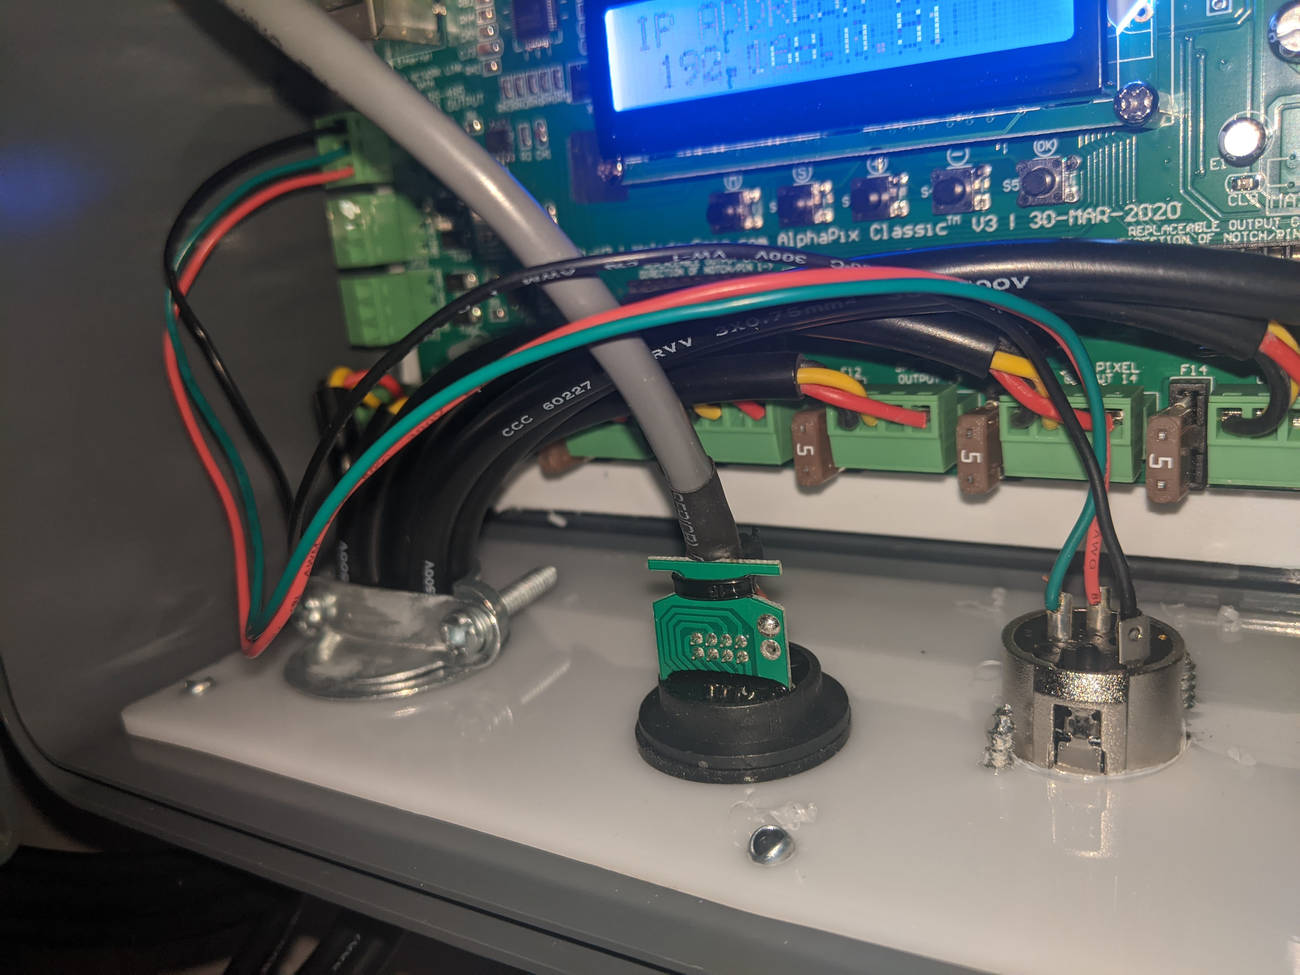
Rainbow Vomit had some DMX par-cans installed, but not in a way that was accessible or controllable. So the next step in the process was getting their DMX lights addressed, wired up, and connected to a controller that I could communicate with via Streaming ACN.
Since we were using Holiday Coro's Alpha Pix control board, we already had a DMX output available to us, and 1 universe was going to be plenty for what we needed in the space. Below you can see the 3 wires routed to the panel mounted DMX out that I installed to their control box.
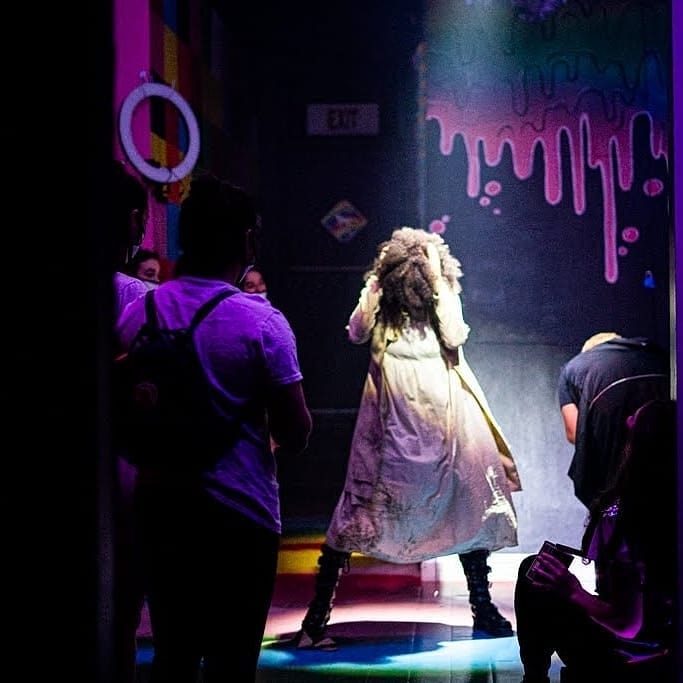
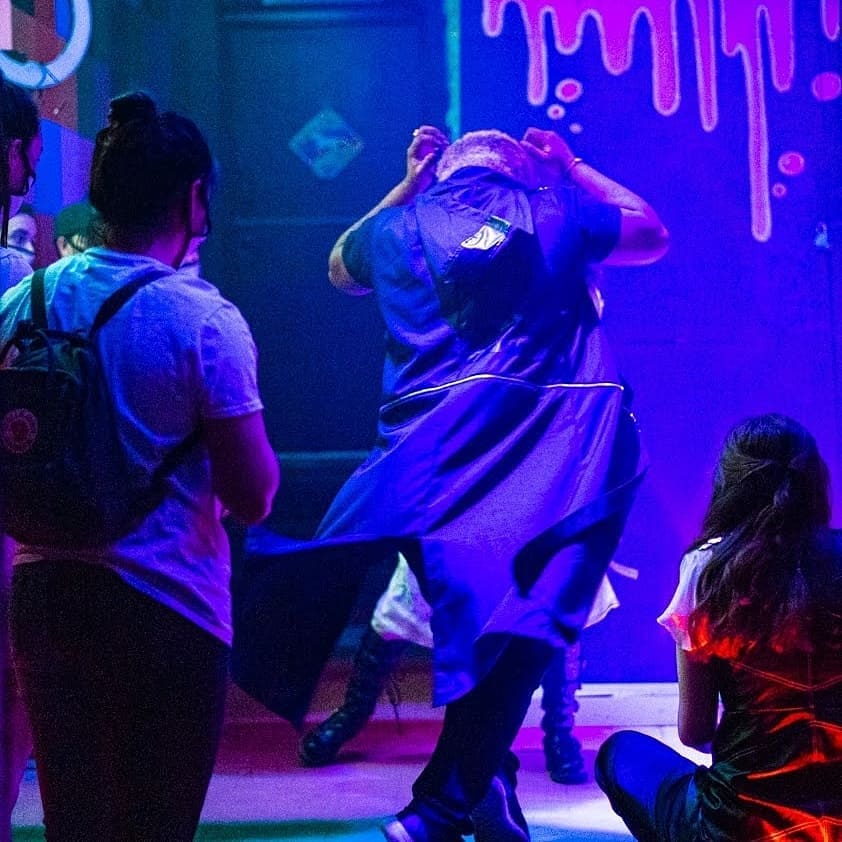
We also installed 4 new led moving lights. These lights would end up being crucial for creating energy and movement during parts of the performance, as well as acting as a "theatrical" follow spot, except these would be following the performers autonomously via UWB positioning in addition to pre programmed cues.
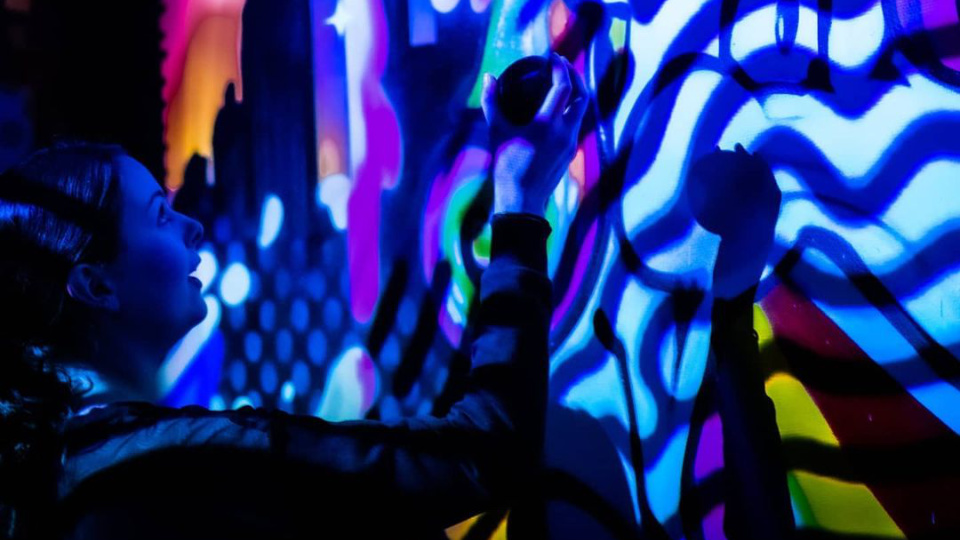
An important part of The Rising was the video projectors in nearly every room.
As the guests moved through the space, the projectors told a big part of the story visually, showing supporting video content, or at times more abstract visuals and sometimes art and motion graphics.
The video needs for the space were pretty hefty, 8 projectors at one point were in active use. While our CMS computer was very capable, it only had one video card which limited the number of outputs we could use, but also some projectors were just too far away for video cable to reach.
Instead, we opted for a more experimental, low profile and low cost method of using the Raspberry Pi 4 as an NDI video player/receiver. This allowed us to send video to the important projectors that were nearby via HDMI, and the remaining 5 projectors we streamed video to over the show network via NDI.
This did introduce a small amount of video delay, but the way the performance and content was situated, this was not an issue because the projectors that were visible from any one point of view, were mostly using the same tech, and thus stayed visually in sync for the guests.

The biggest single piece of development I took on that Rainbow Vomit knew they needed from the get go, was the ability for the guests to carry these egg shaped props, that would bring various elements in the space to life when moving near them. Also, during the performance shaking of the eggs was incentivized at certain points, and that shaking needed to control the lighting in various ways.
My rather winding road of R&D for this part of the project initially started with investigations into 9-DOF IMU's and other accelerometer packages (all of which failed to track position well, or at all) over time eventually led me to land on a very neat product - the DWM-1001 UWB development boards.
UWB was new field to me when we started this project, and unexpectedly became my favorite thing to work with tech wise. It was fascinating to be able to track a position indoors fairly accurately, even through moderate line of sight obstructions. This also opened many doors for generative content and automating otherwise challenging lighting cues which made it very much worth the R&D investment.
The short of it is, UWB is a radio technology, similar to Bluetooth or Wi-Fi, that operates on a different wavelength and is used for a lot of things, one of which is indoor positioning systems. You can think of indoor positioning as GPS system on a much smaller scale, but also much more accurate!
To make things better, these boards also had a separate accelerometer built in, and accessible through their firmware (though I did end up making a few modifications to access it).
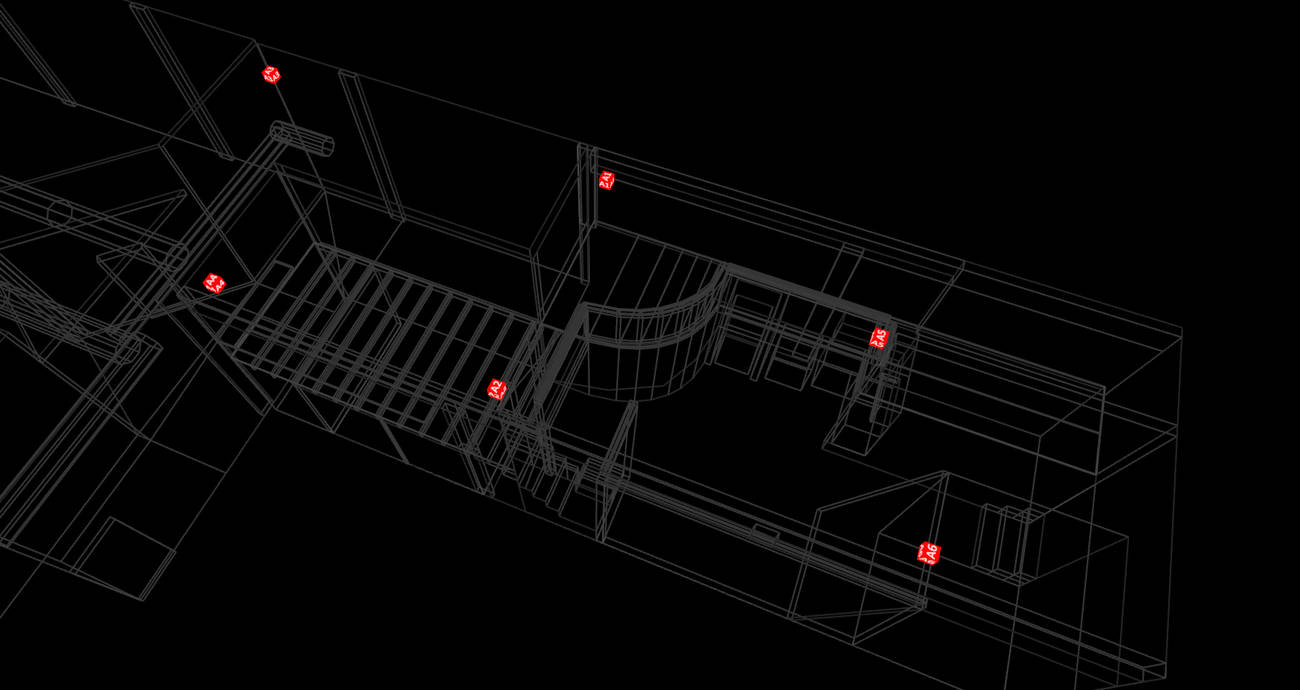
The below diagram shows how we intended to track the position of an egg, inside a section of the venue. The Anchors would act as fixed points in space, and the Tag (guest's egg) would triangulate it's own position from the Anchors, and report that to the Gateway, which aggregated this data and made it available via MQTT.
Note, in the below diagram, Beacon's were our descriptor of what the manufacturer of the boards referred to as Anchors.

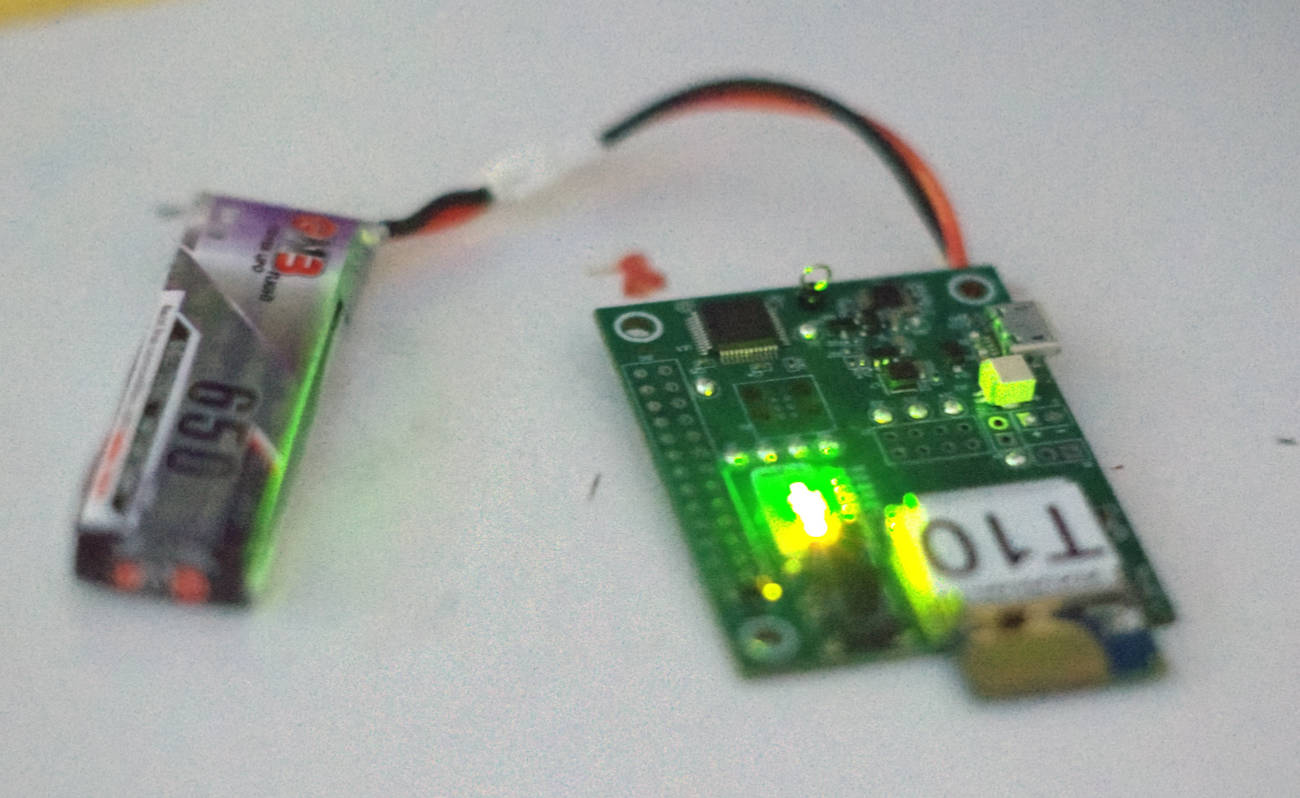
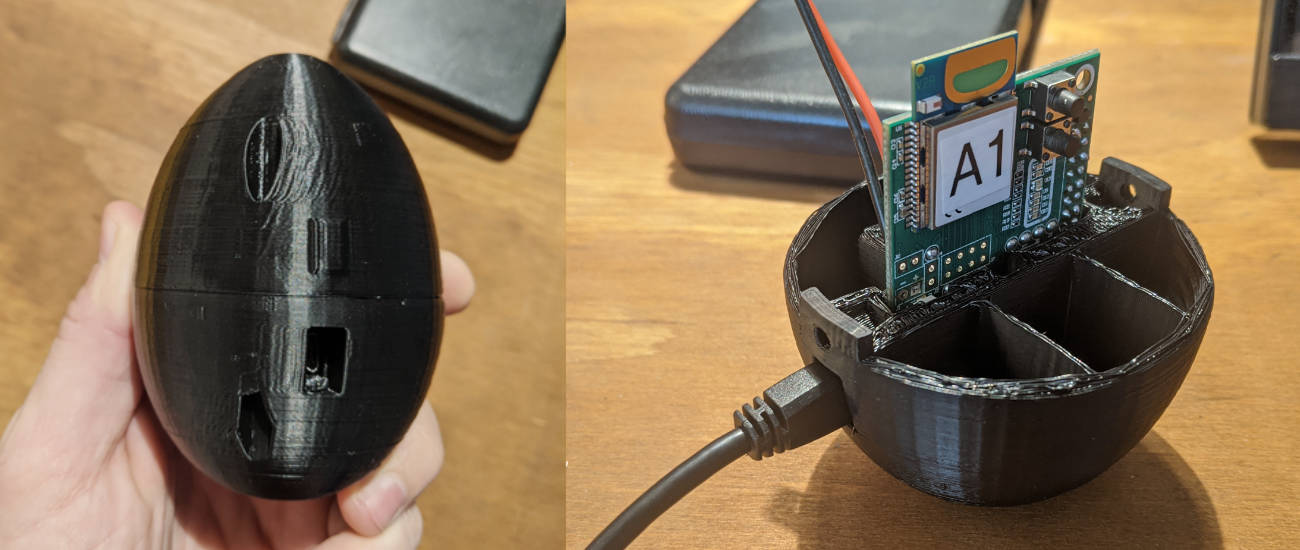
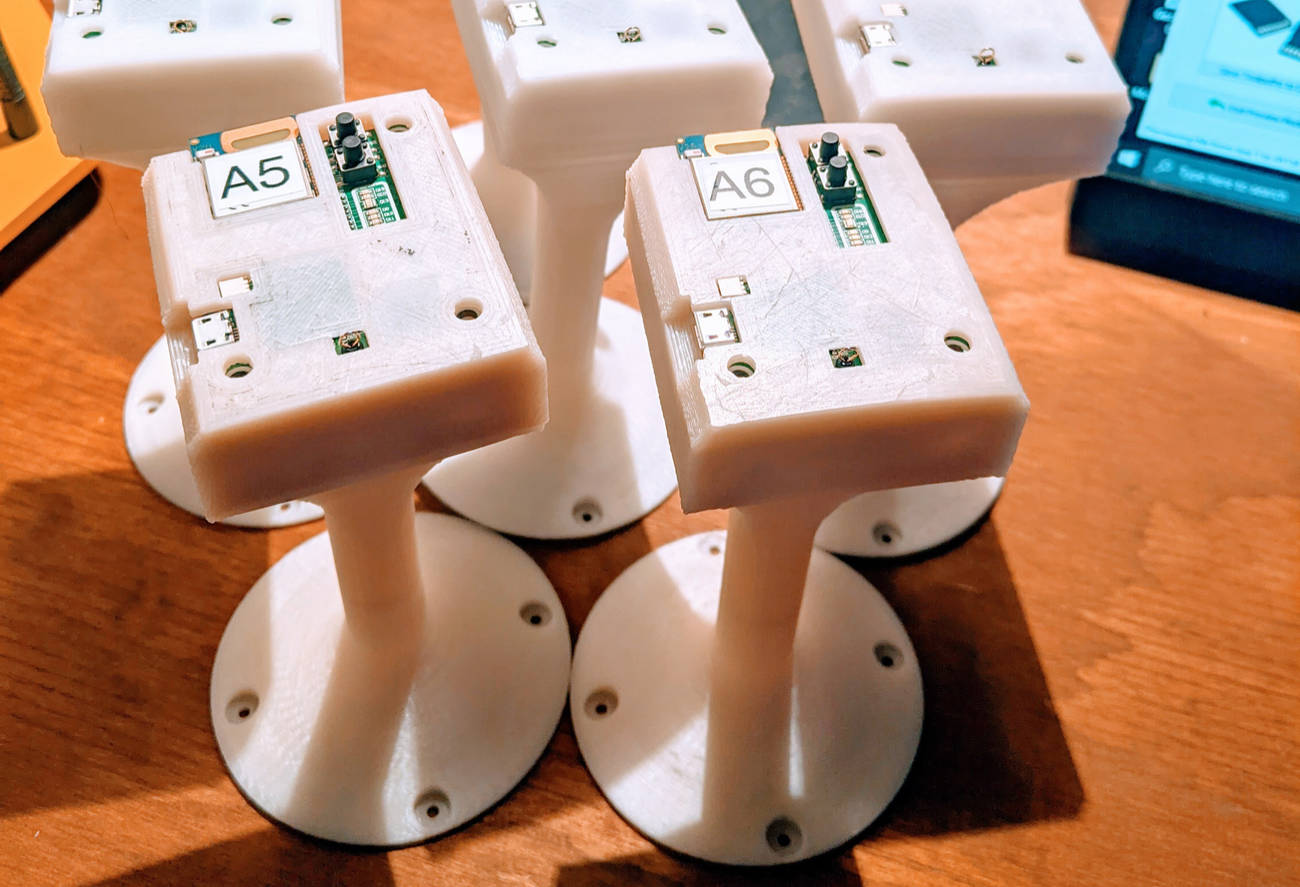
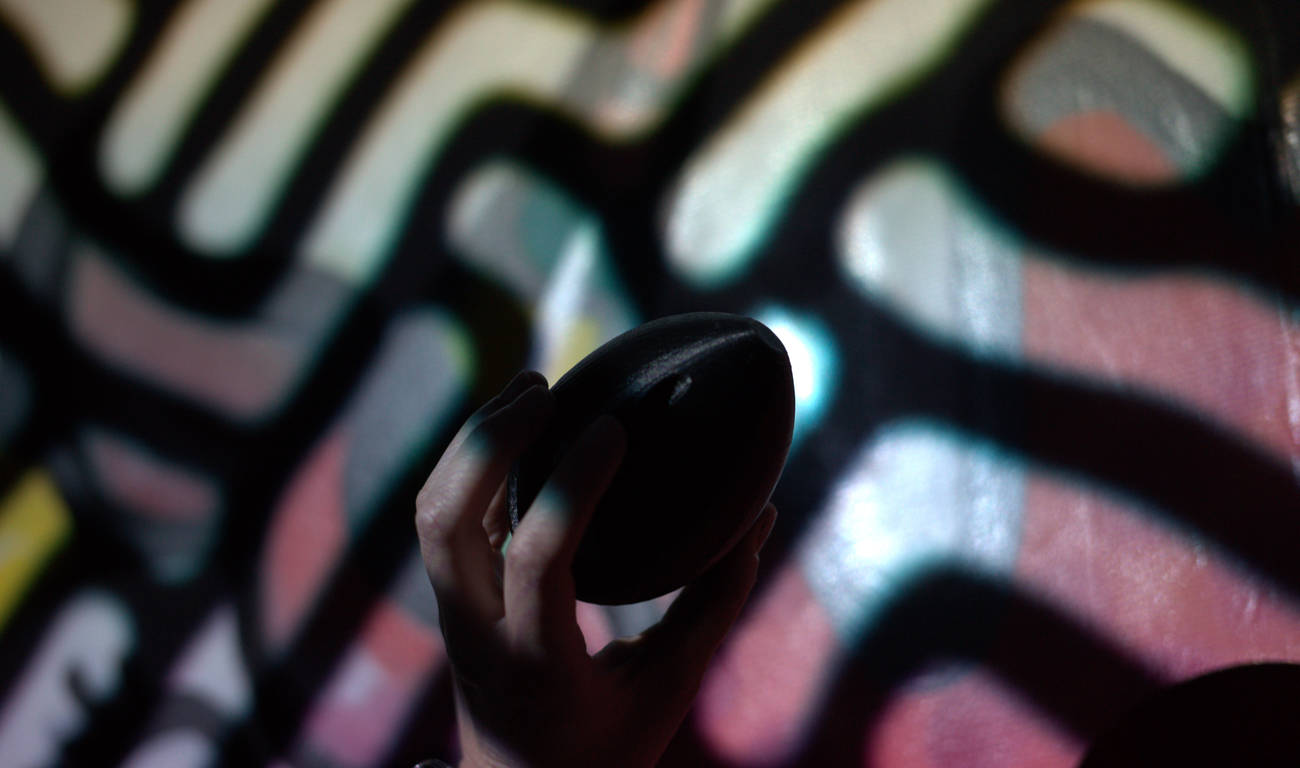
Below you can see the black 3D printed eggs that after several iterations were able to house the DWM-1001 development boards in Tag mode. There was also a hole for USB charging, a slot for the LiPo battery, and a couple of fitted lock nut holes for easy assembly with a screw driver.
In addition, the eggs needed a separate compartment for the shaking medium, so I designed this in on either side, closer to the walls of the egg.
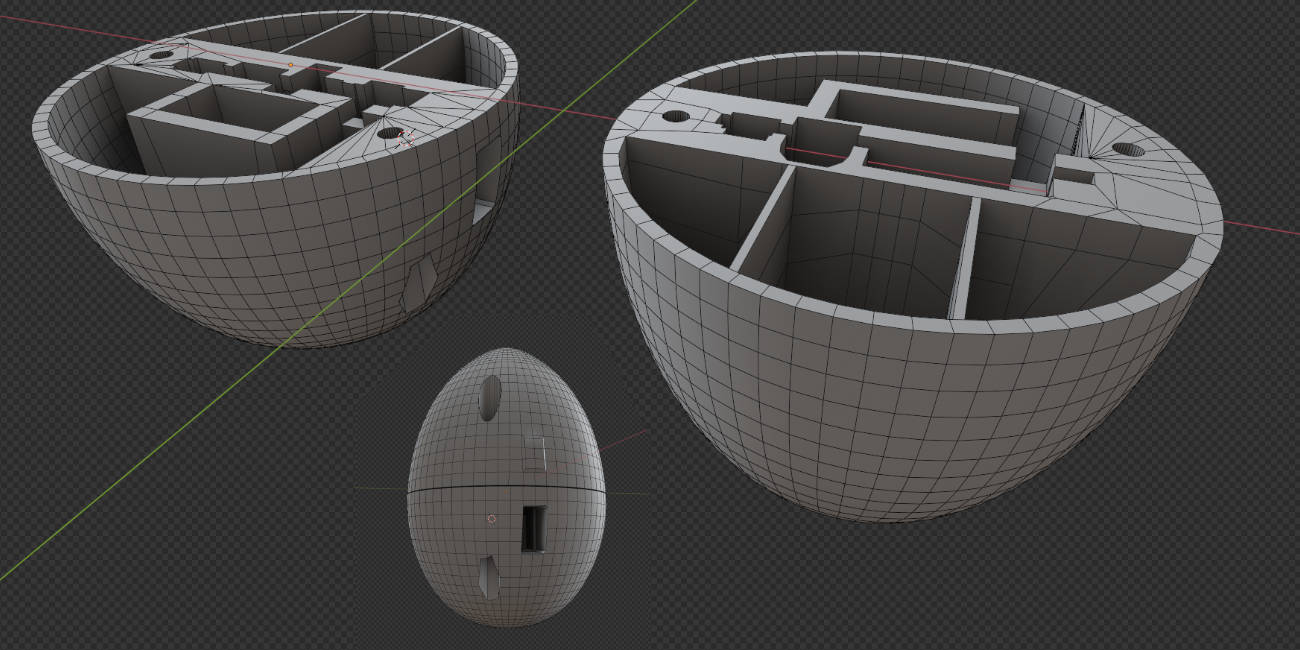
Below, the one on the right is an earlier iteration, but it does show how the board fit snugly in the middle.
The Eggs could only be aware of their own position in world space thanks to carefully placed, oriented, and spaced out Anchors. These Anchors are the exact same DWM-1001 development boards, except set to Anchor mode.
They needed to be configured with their world space position as well, which is where the Blender survey file started coming in handy again. I measured their location from walls and easily identifiable architecture points, and by cross referencing the Blender file got their locations down to inch or two put into all of the boards.
To get good quality position tracking, several best practices were followed. The one that ended up making the biggest difference was placing the Anchors 6 inches or so off the ceiling and away from any walls. The ceiling was made of a type of metal or tin material, so the fact that this made a huge difference in hindsight is not so surprising.
These Tags also performed better when there was line of sight to the Anchors, however in most of the venue there were line of sight obstructions. However, despite this the track was still very good all things considered.
I designed and printed several of these mounts for the Anchors below. These were mounted to the ceiling in key shown above in red.
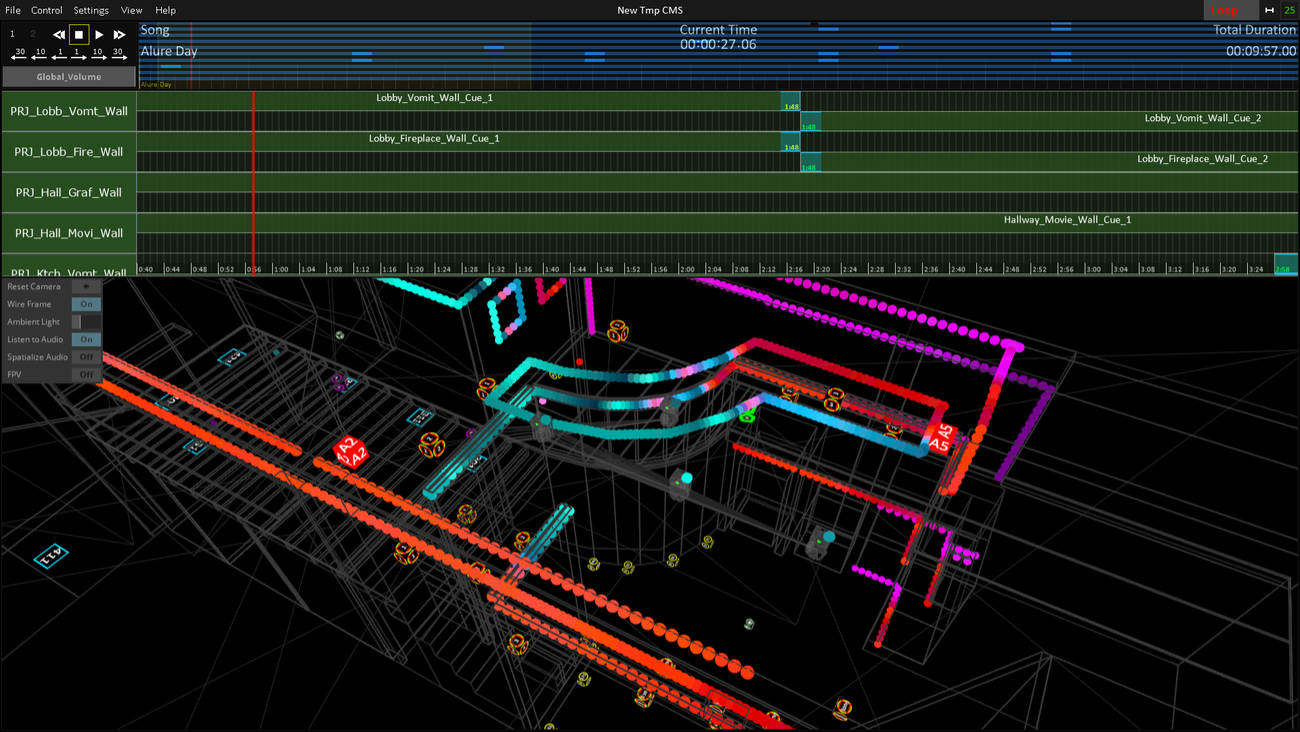
Below, you can see how the Tags moved through out the space, each Egg differentiated by a unique color. You can see some wobble and drift in the positions over time, but given that they were enclosed in a plastic egg, and often occluded by walls and lots of other structural things they performed quite well. This also allowed us to use that position to calculate Pan Tilt look-at information for the moving lights, as well as paint visuals on the walls where users walked by.
All of this tech was more or less worthless with out a central brain to take in all the inputs, do the math, and transmit out the final show data when Rainbow Vomit hit "Play". Here's a summary of the primary ins and outs.
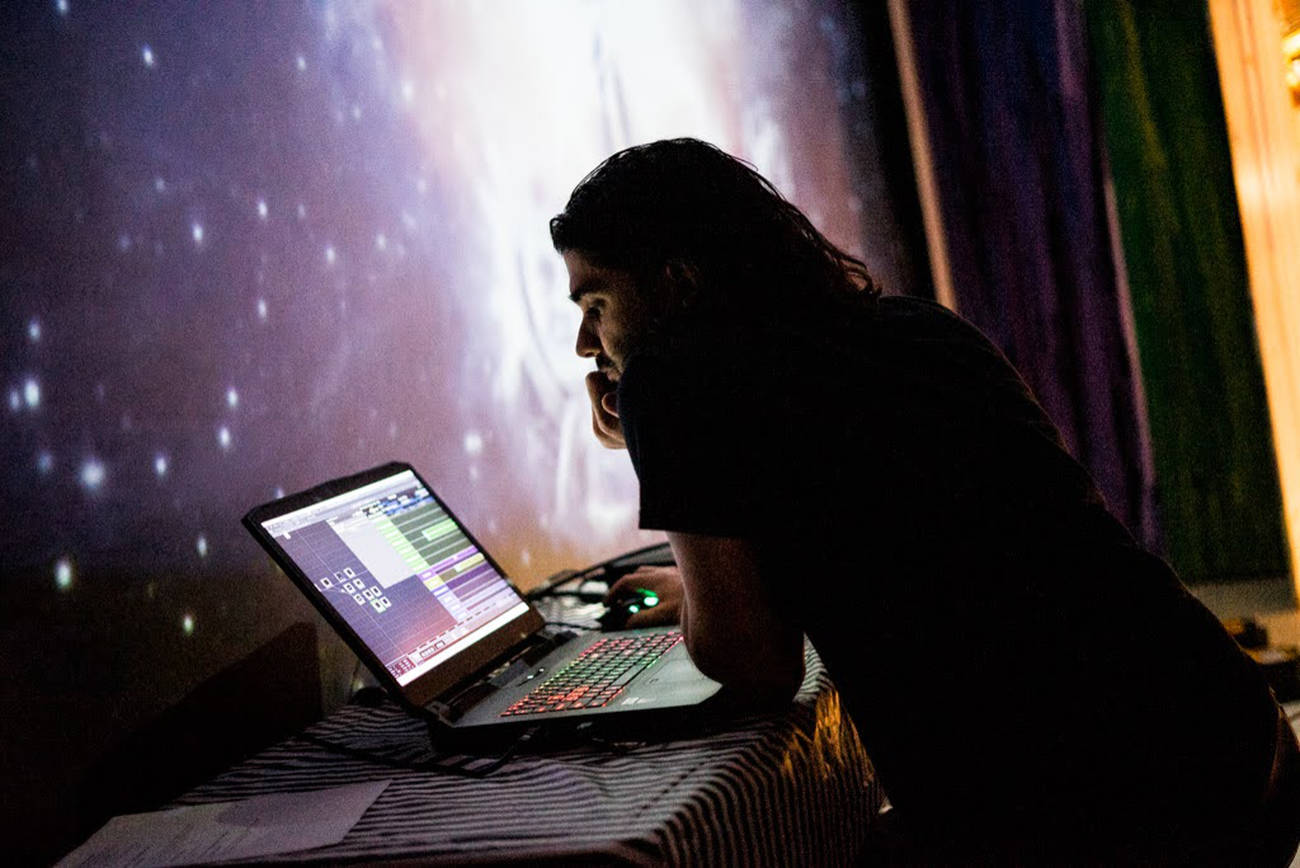
I built out the CMS software to center around 3 primary UX principles.
First, since the performance was a series of cues on a timeline, I opted for a track based non linear work space. Similar to what you might find in After Effects, or Premier. This allowed us to scrub back and forth while designing looks, and play things back autonomously during normal use.
The second thing is somewhat intertwined with the first. With NLE UX you usually have the X axis representing time, and the Y axis being segmented into rows, where each row represents an audio or visual "track". For our situation, I opted to make each "track" represent a specific fixture, or performance element. This meant one track for each projector, but also one track for the entire LED array, and one track for the DMX lights, and 3 tracks, one for each spatialized audio zone.
Thirdly, a previz component was needed for the software, so that real life results could be validated against what was going on in the software. Also, due to the tight schedule of days we had onsite with the lighting rig, it was imperative that I had a way to build out the initial rough looks and cues via software remotely so that the time onsite could be spent as efficiently as possible. Again, the Blender survey file really came in handy here because everything was to scale, I was able to drop things like moving lights and up-lights into their respective places and everything lined up.
In the end, this was easily one of the most unique projects I've ever worked on from a technical and show production standpoint, and with that it also presented unique technical challenges that I have not quite encountered before.
That said solving problems is what I do, and what I love. Its not often clients are open to exploring experimental and unexplored solutions to problems and that goes a long way on projects like these.