TouchDesigner, Python, Blender, Electrical, Lighting Design, Fabrication, 3D Printing
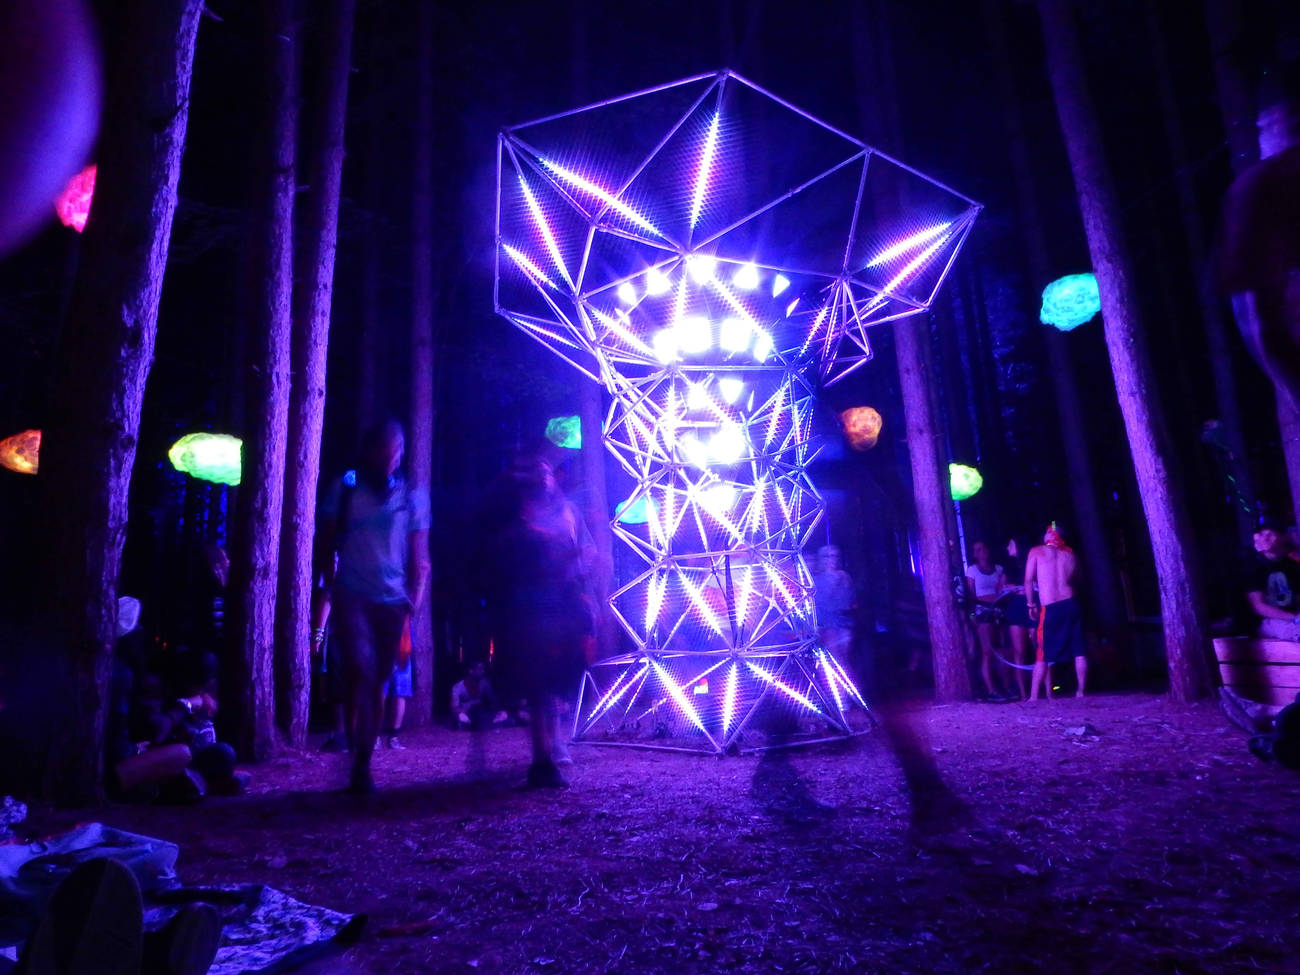
Event Horizon
Summary
Event Horizon was another one of those projects that pulled from every area of expertise I possessed at the time. Those are the most satisfying for me to accomplish, but they tend to also be the most draining and time consuming too as I am doing everything by hand usually.
The Structural
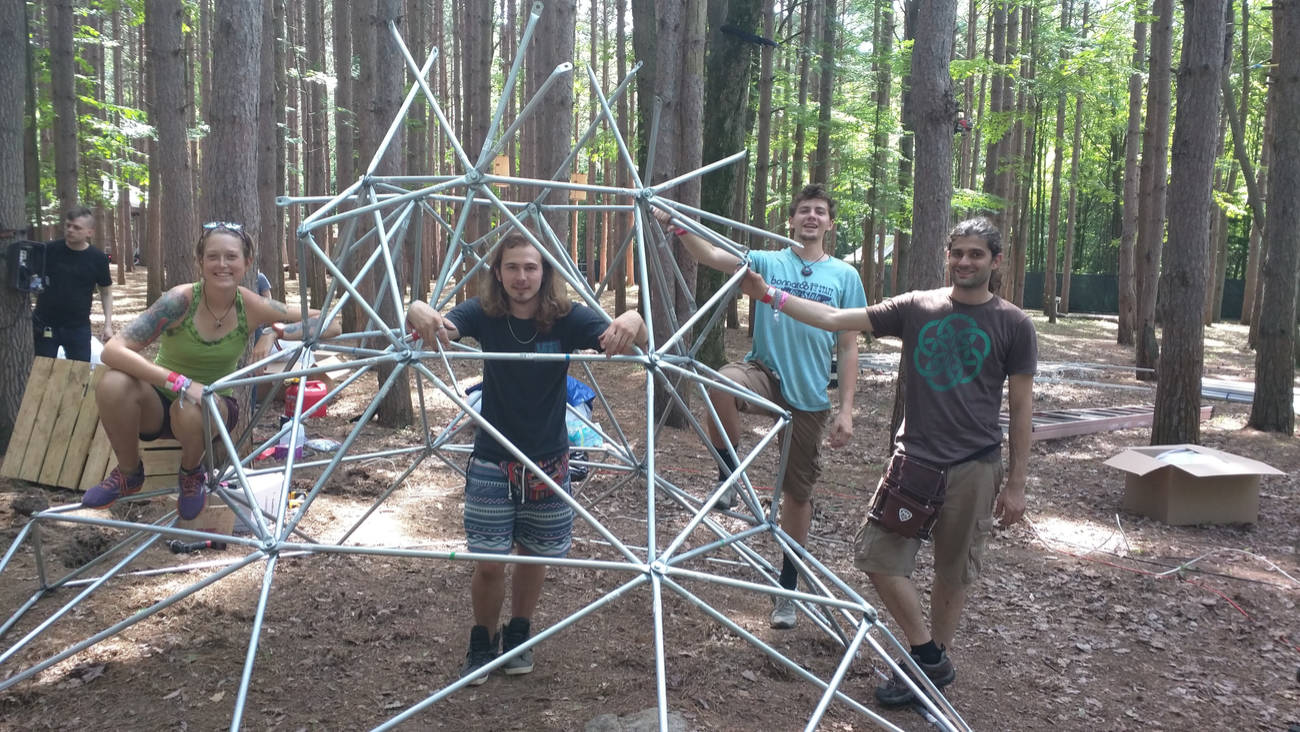
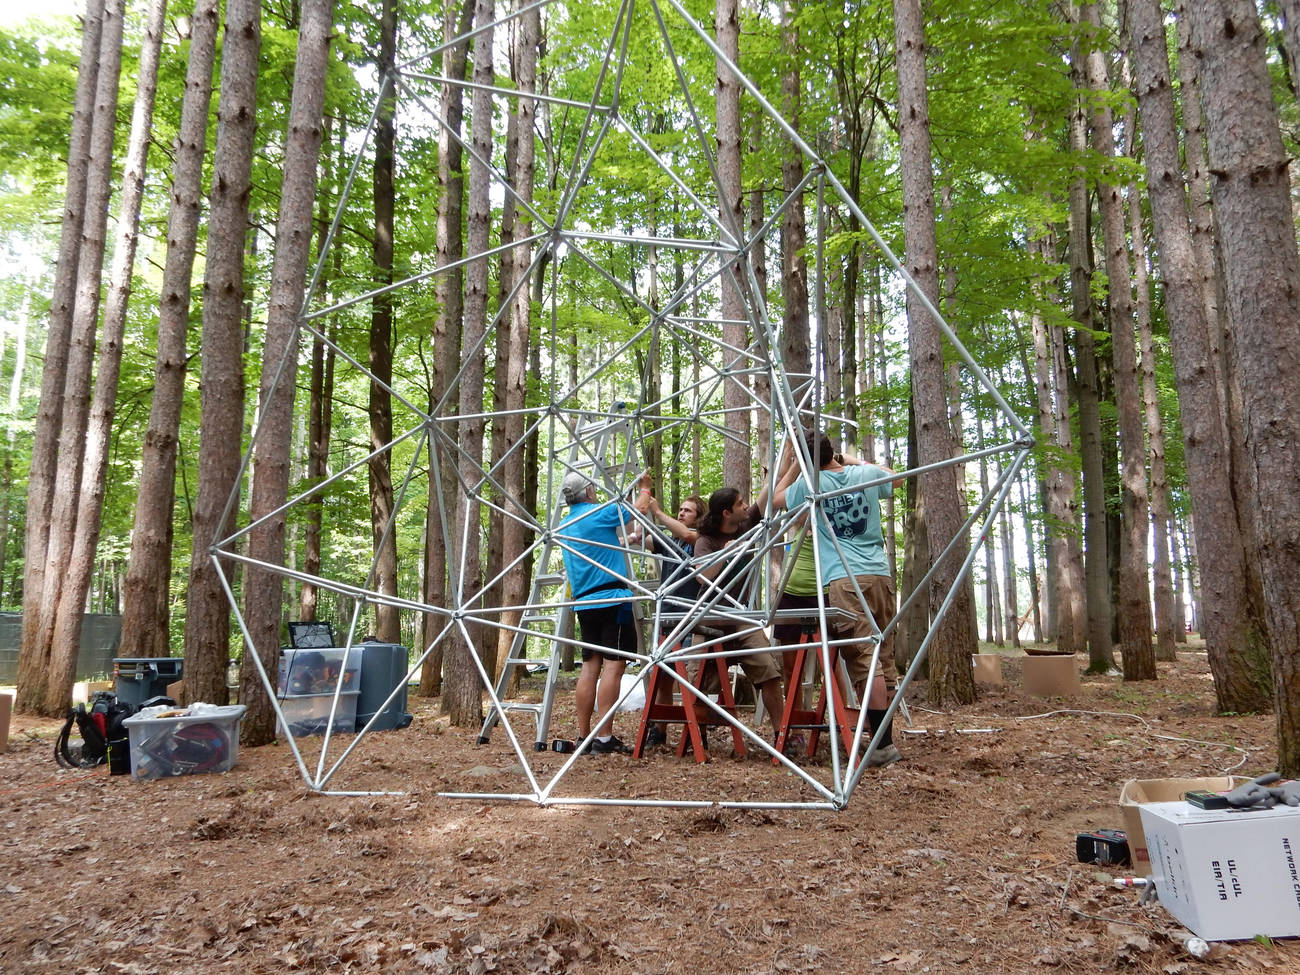
The whole project started with the initial concept, which I mocked up in Blender. I sent my design over to Brian Korsedal at Digital Permaculture to see if he could make into a physical reality.
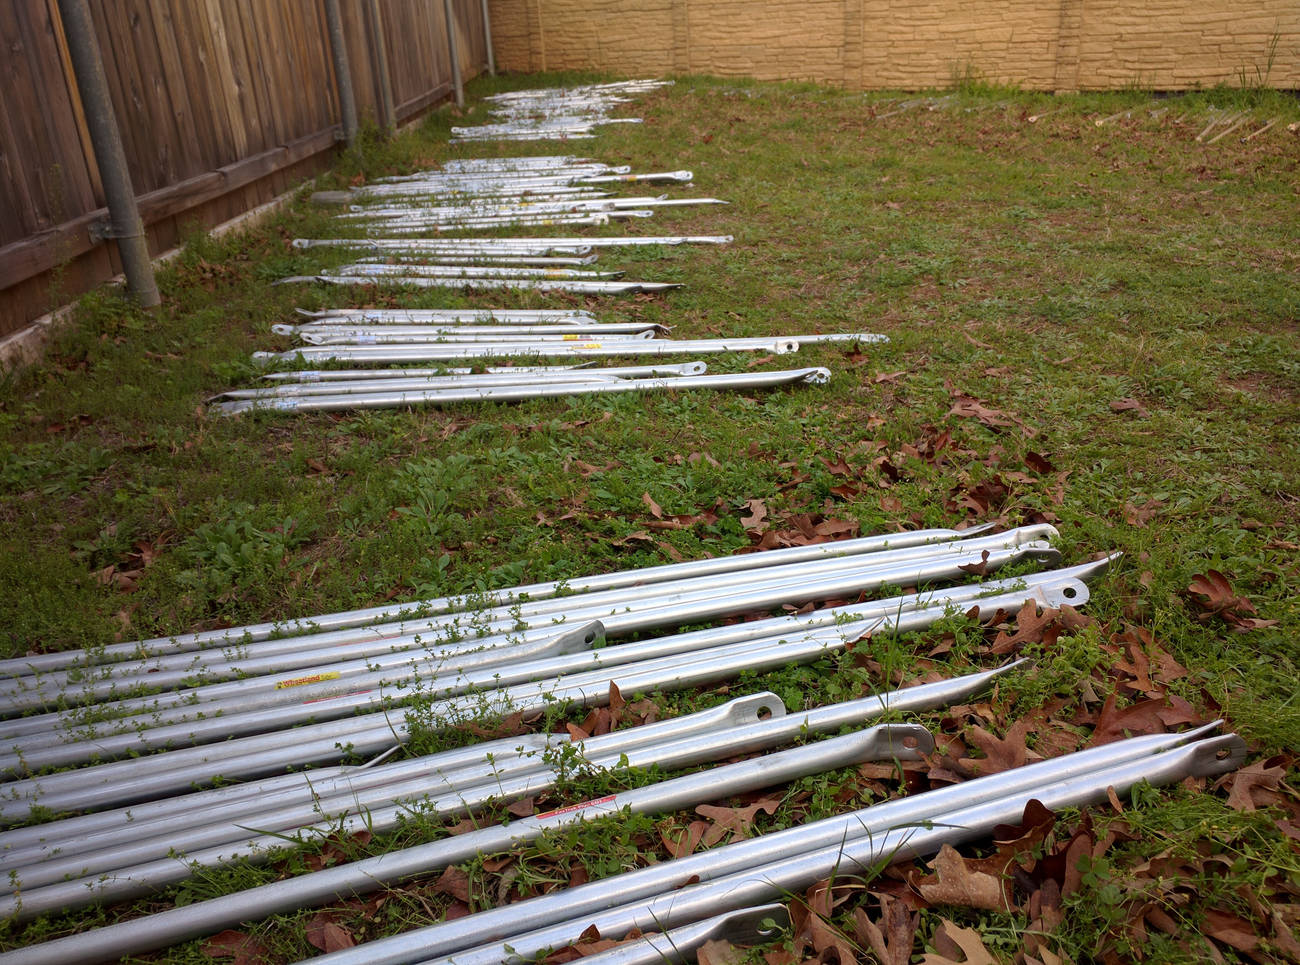
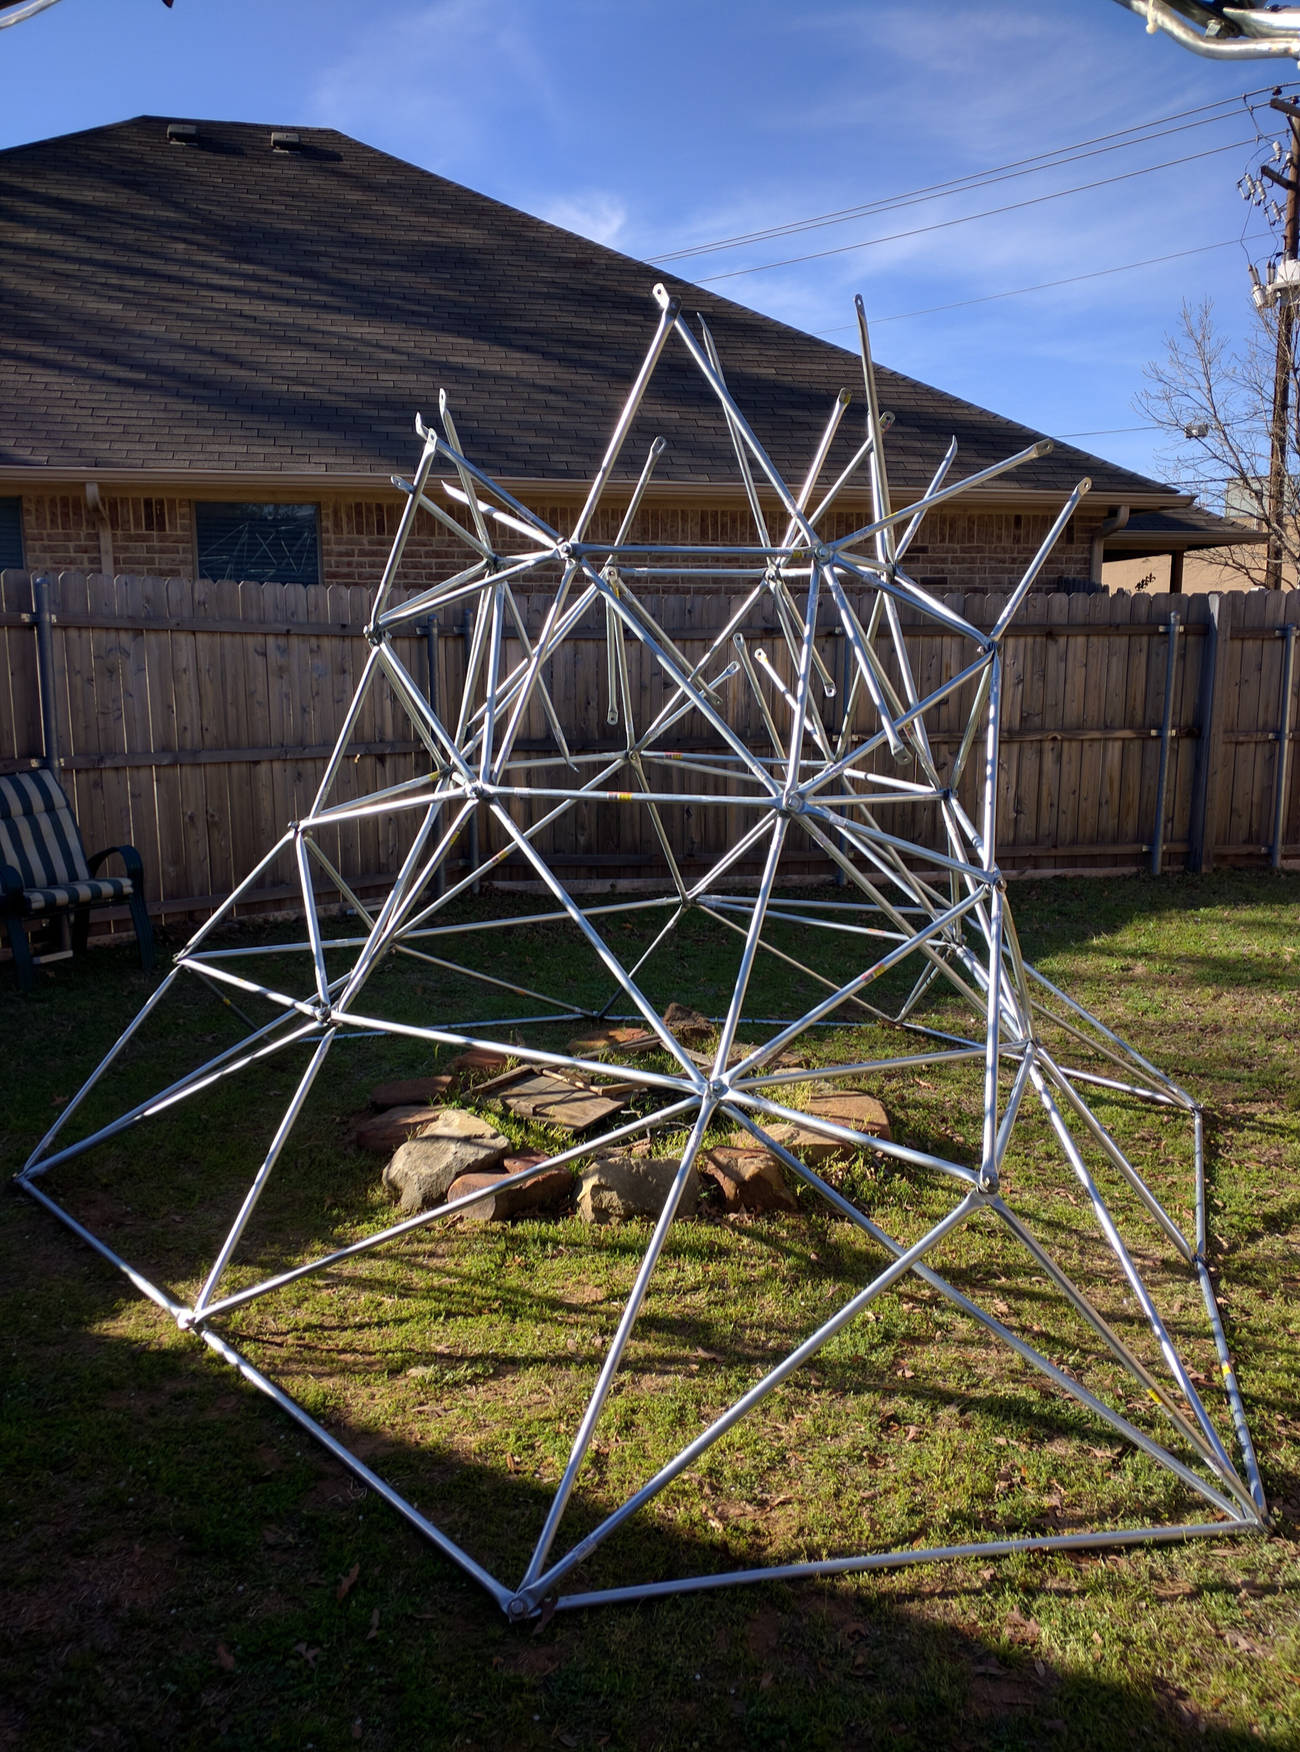
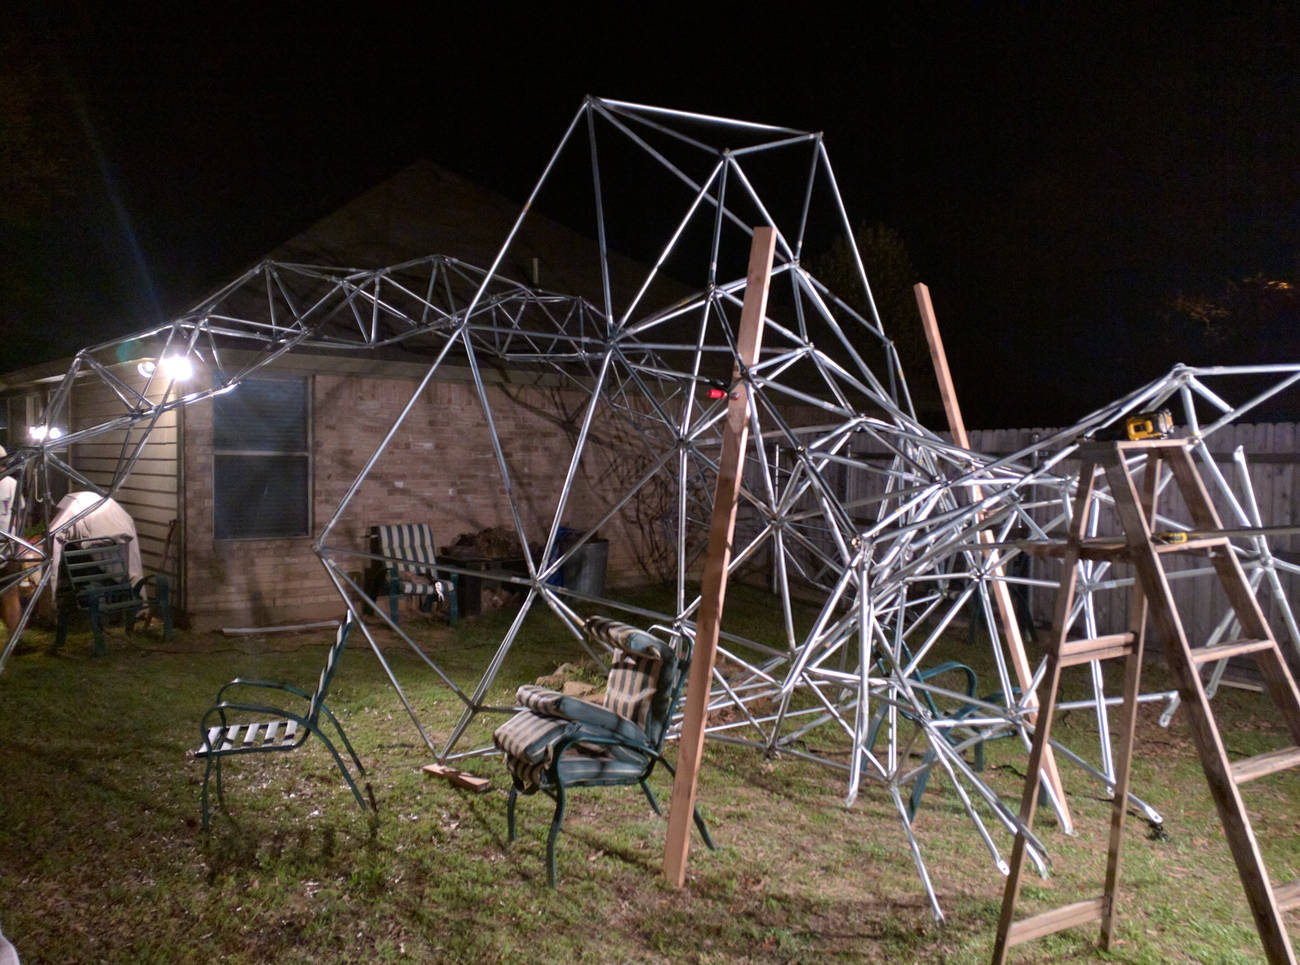
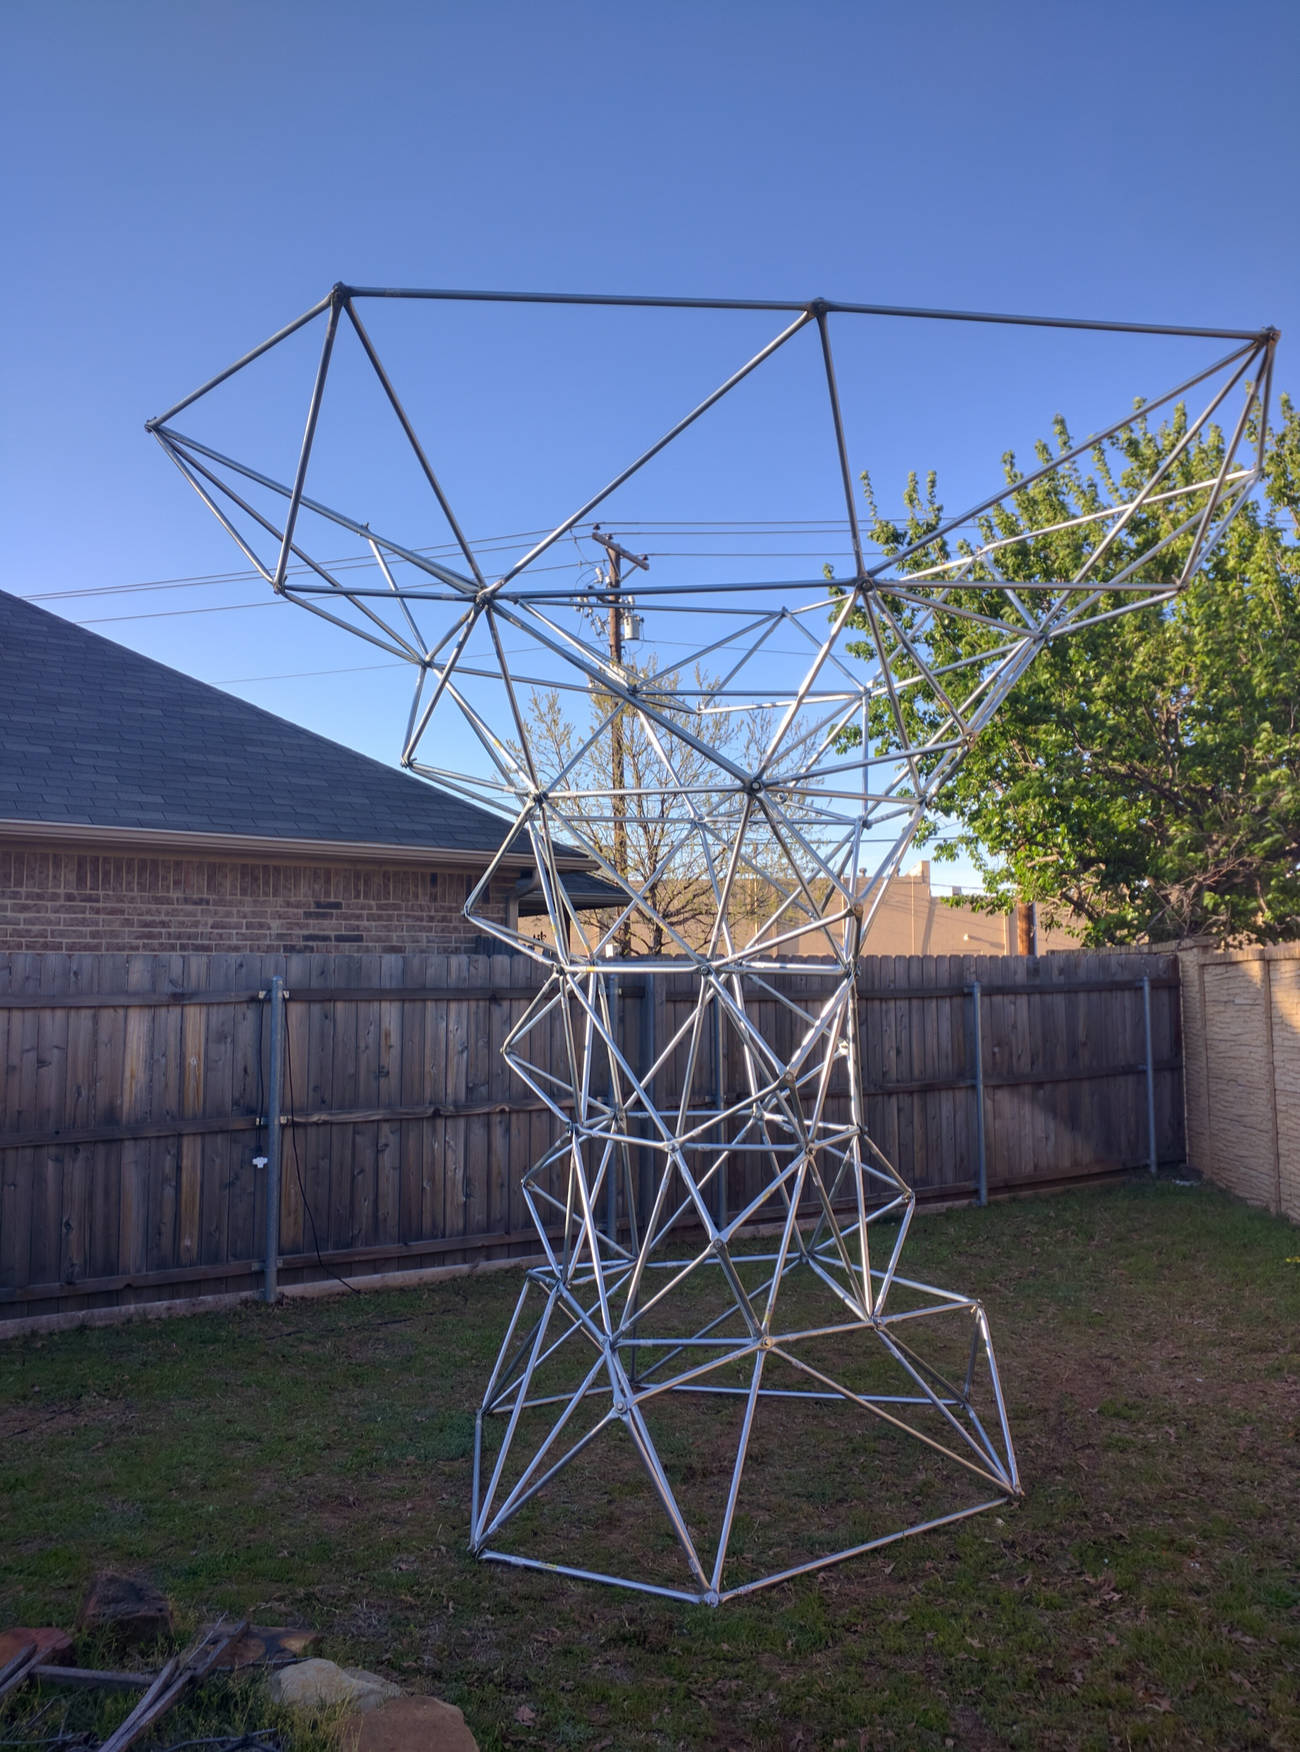
With some tweaks to the initial design to bring weight and overall connection density down, we we're able to land on a final mesh that his software could generate a working BOM from. When I received the installation, it came to me as a collection of bars, bolts, and lock nuts.
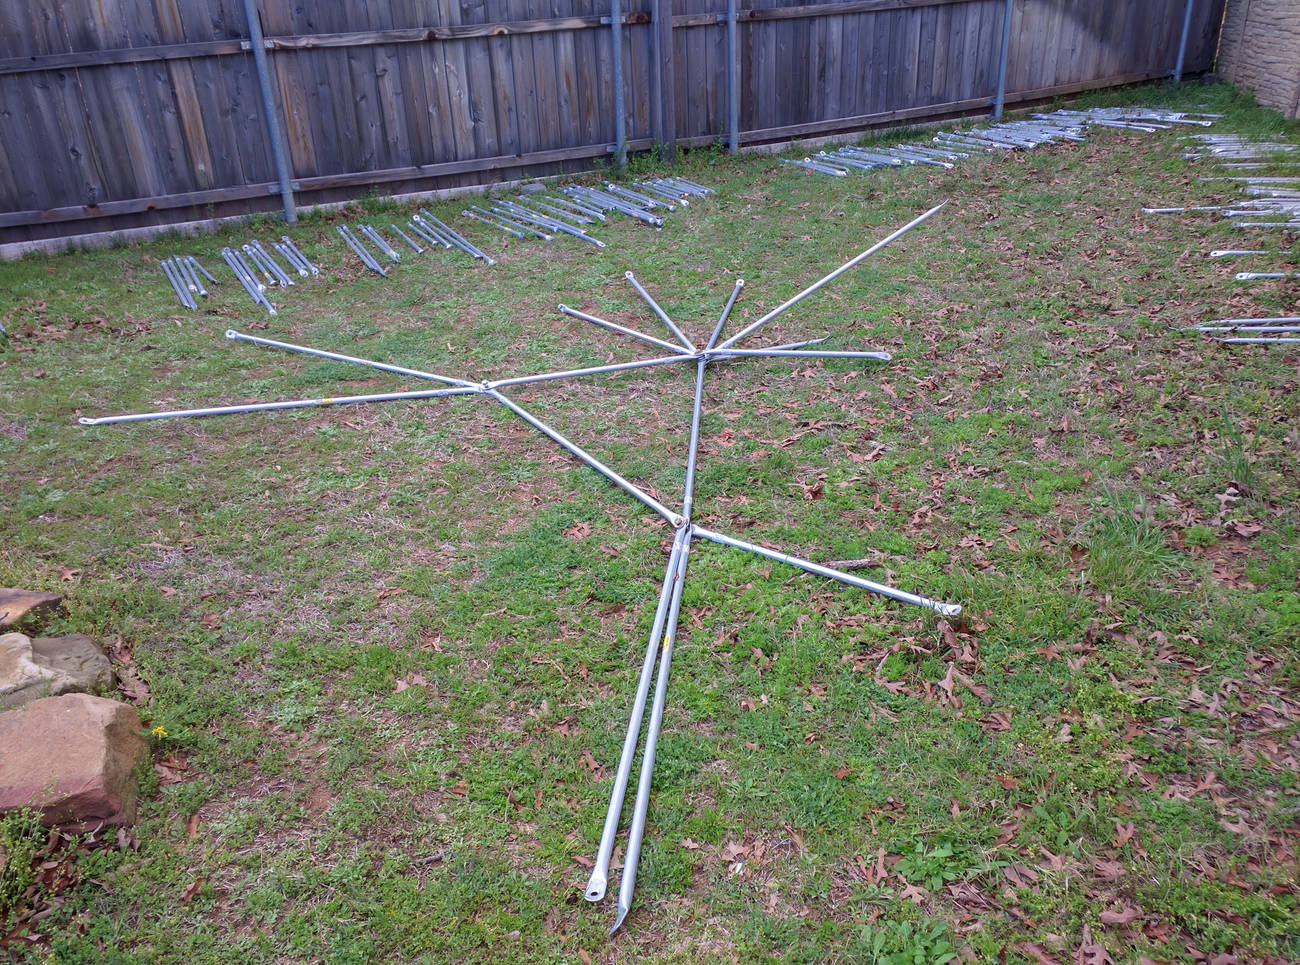
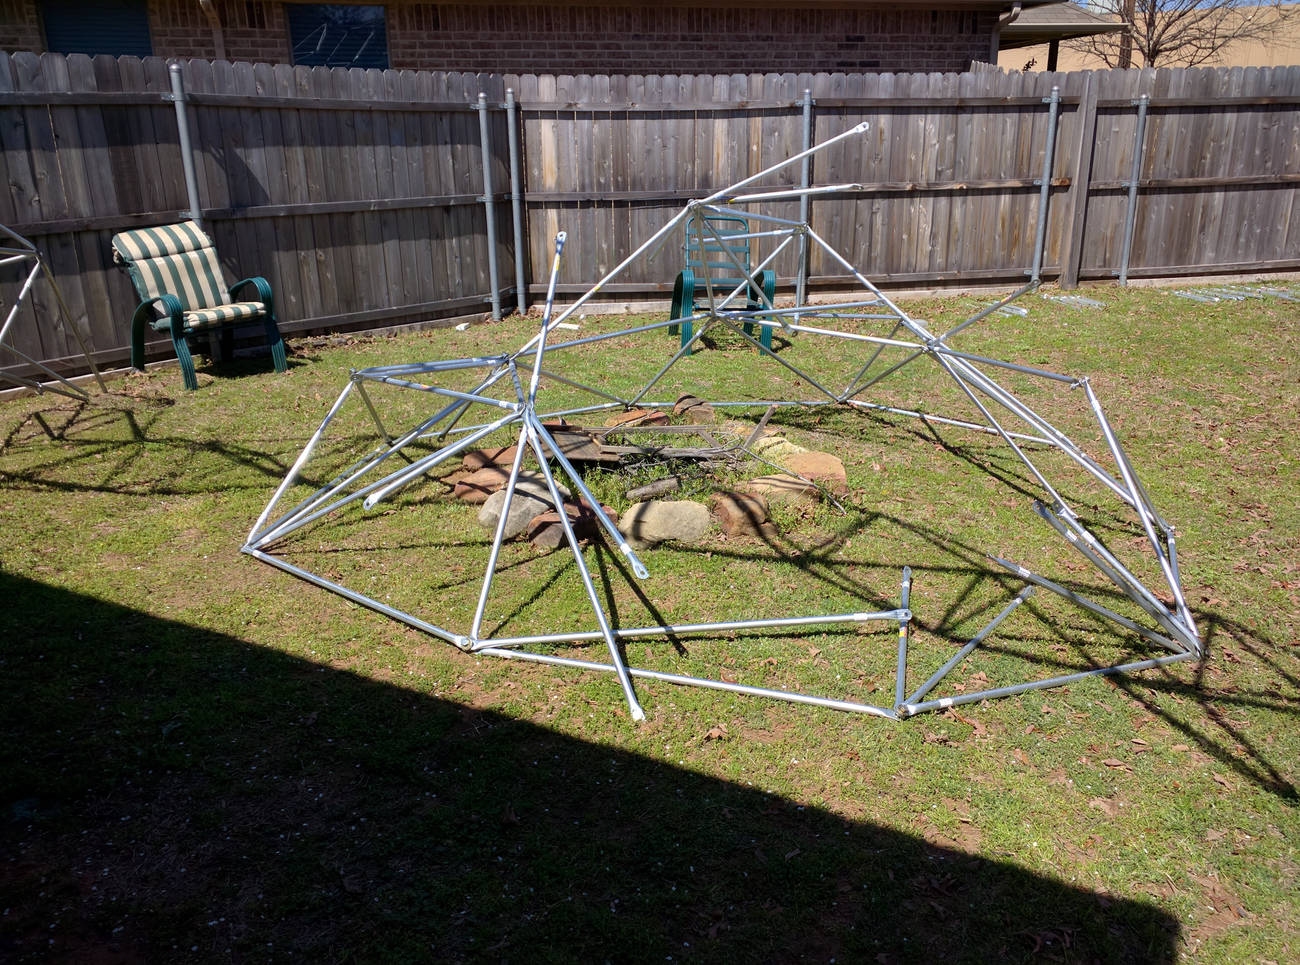
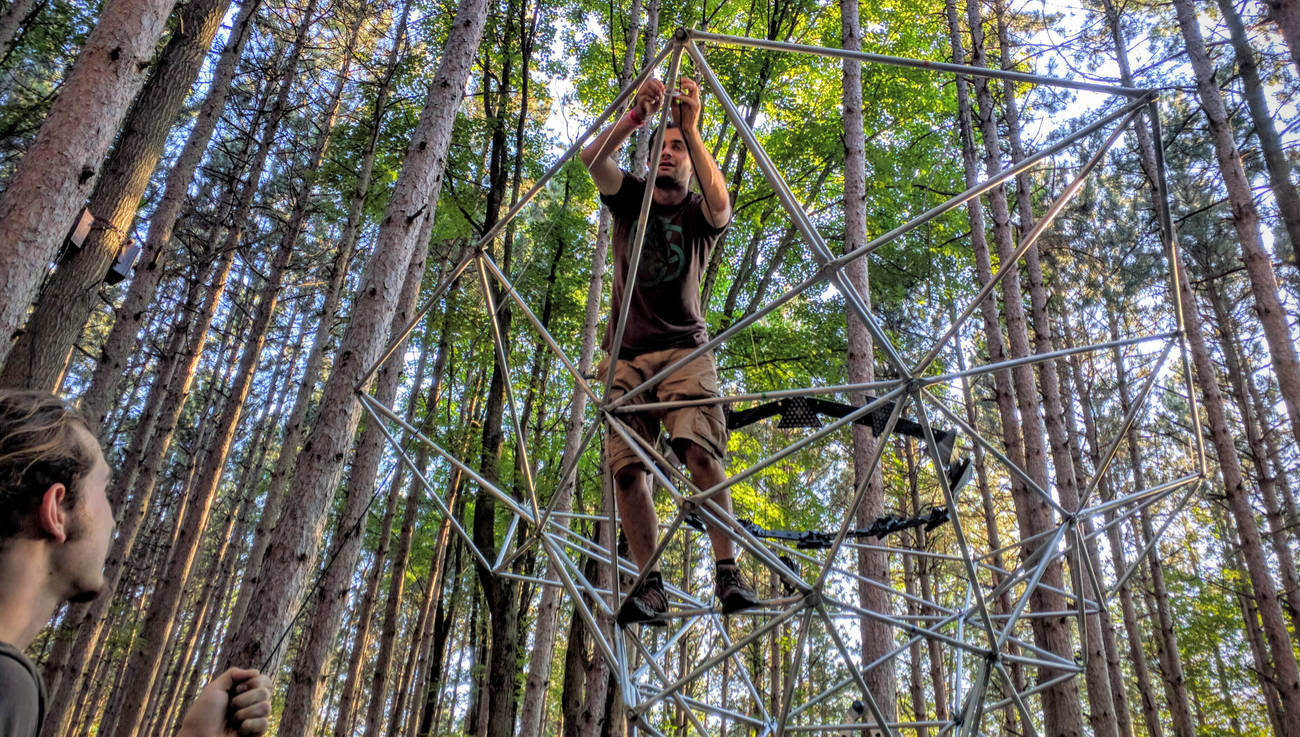
Well, from here the structure came together piece by piece, following the label instructions on each par.
The Electrical
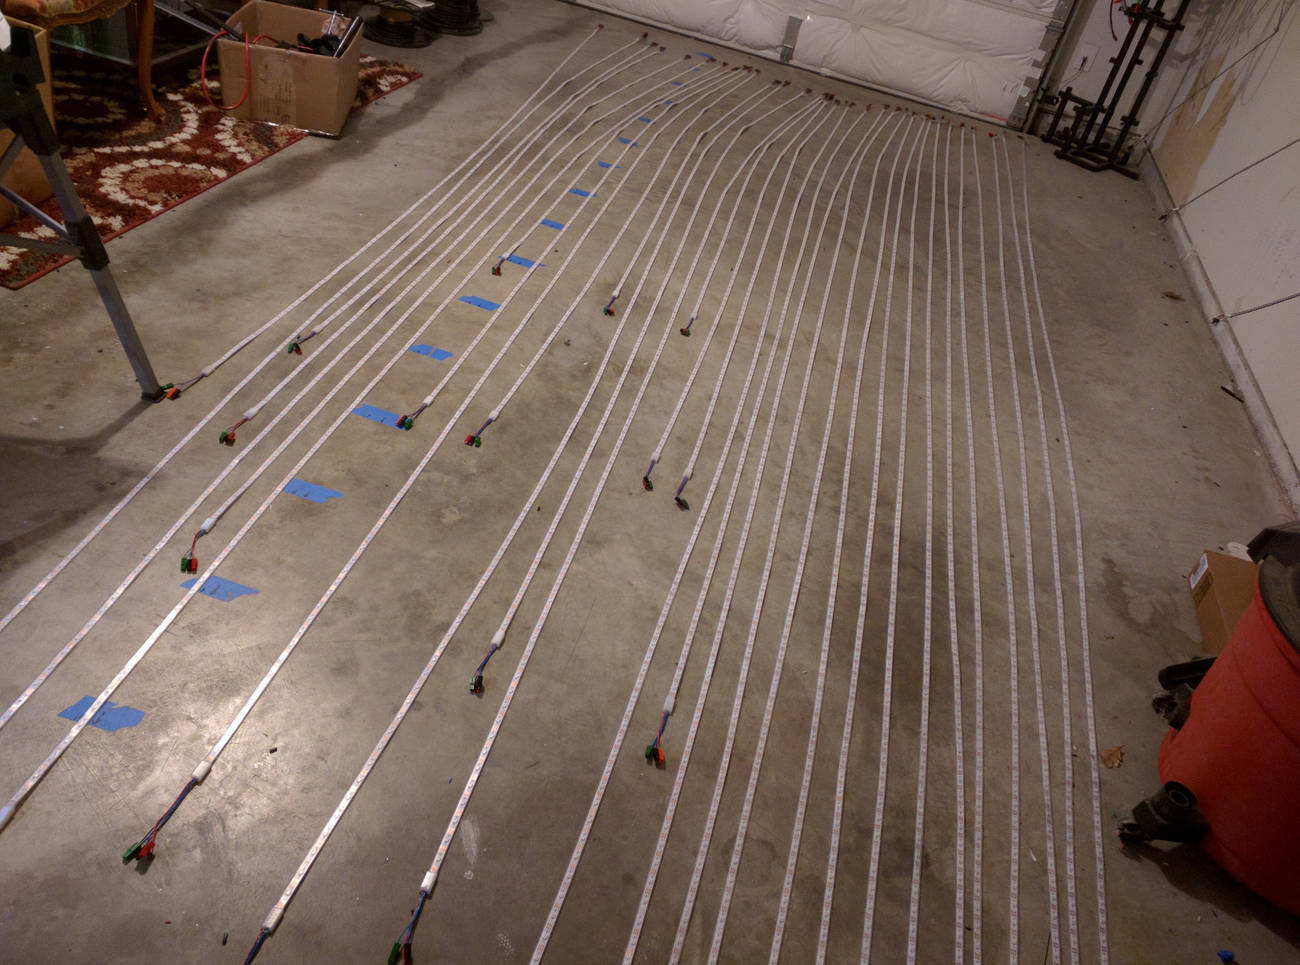
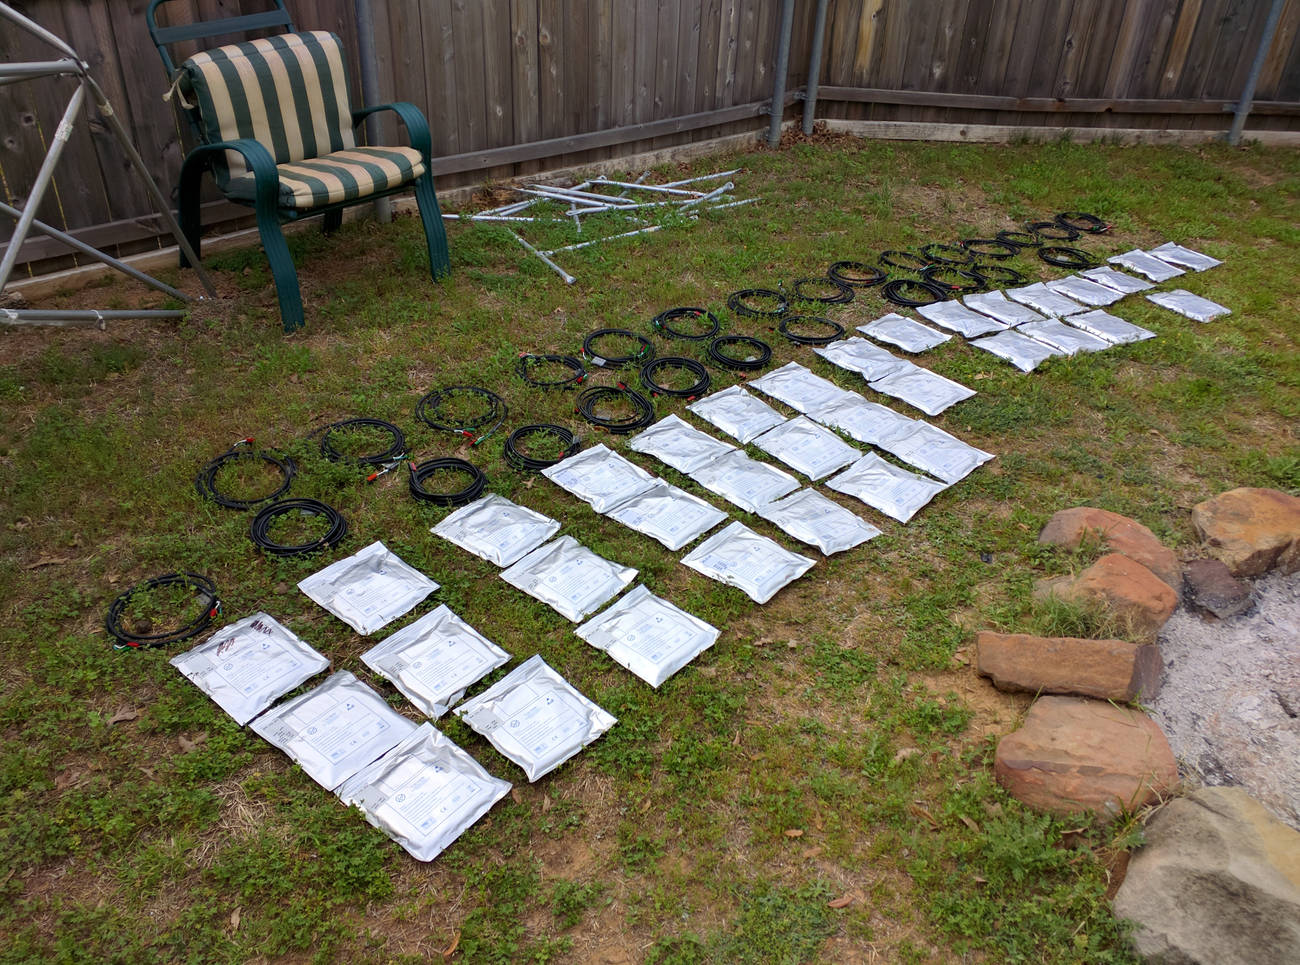
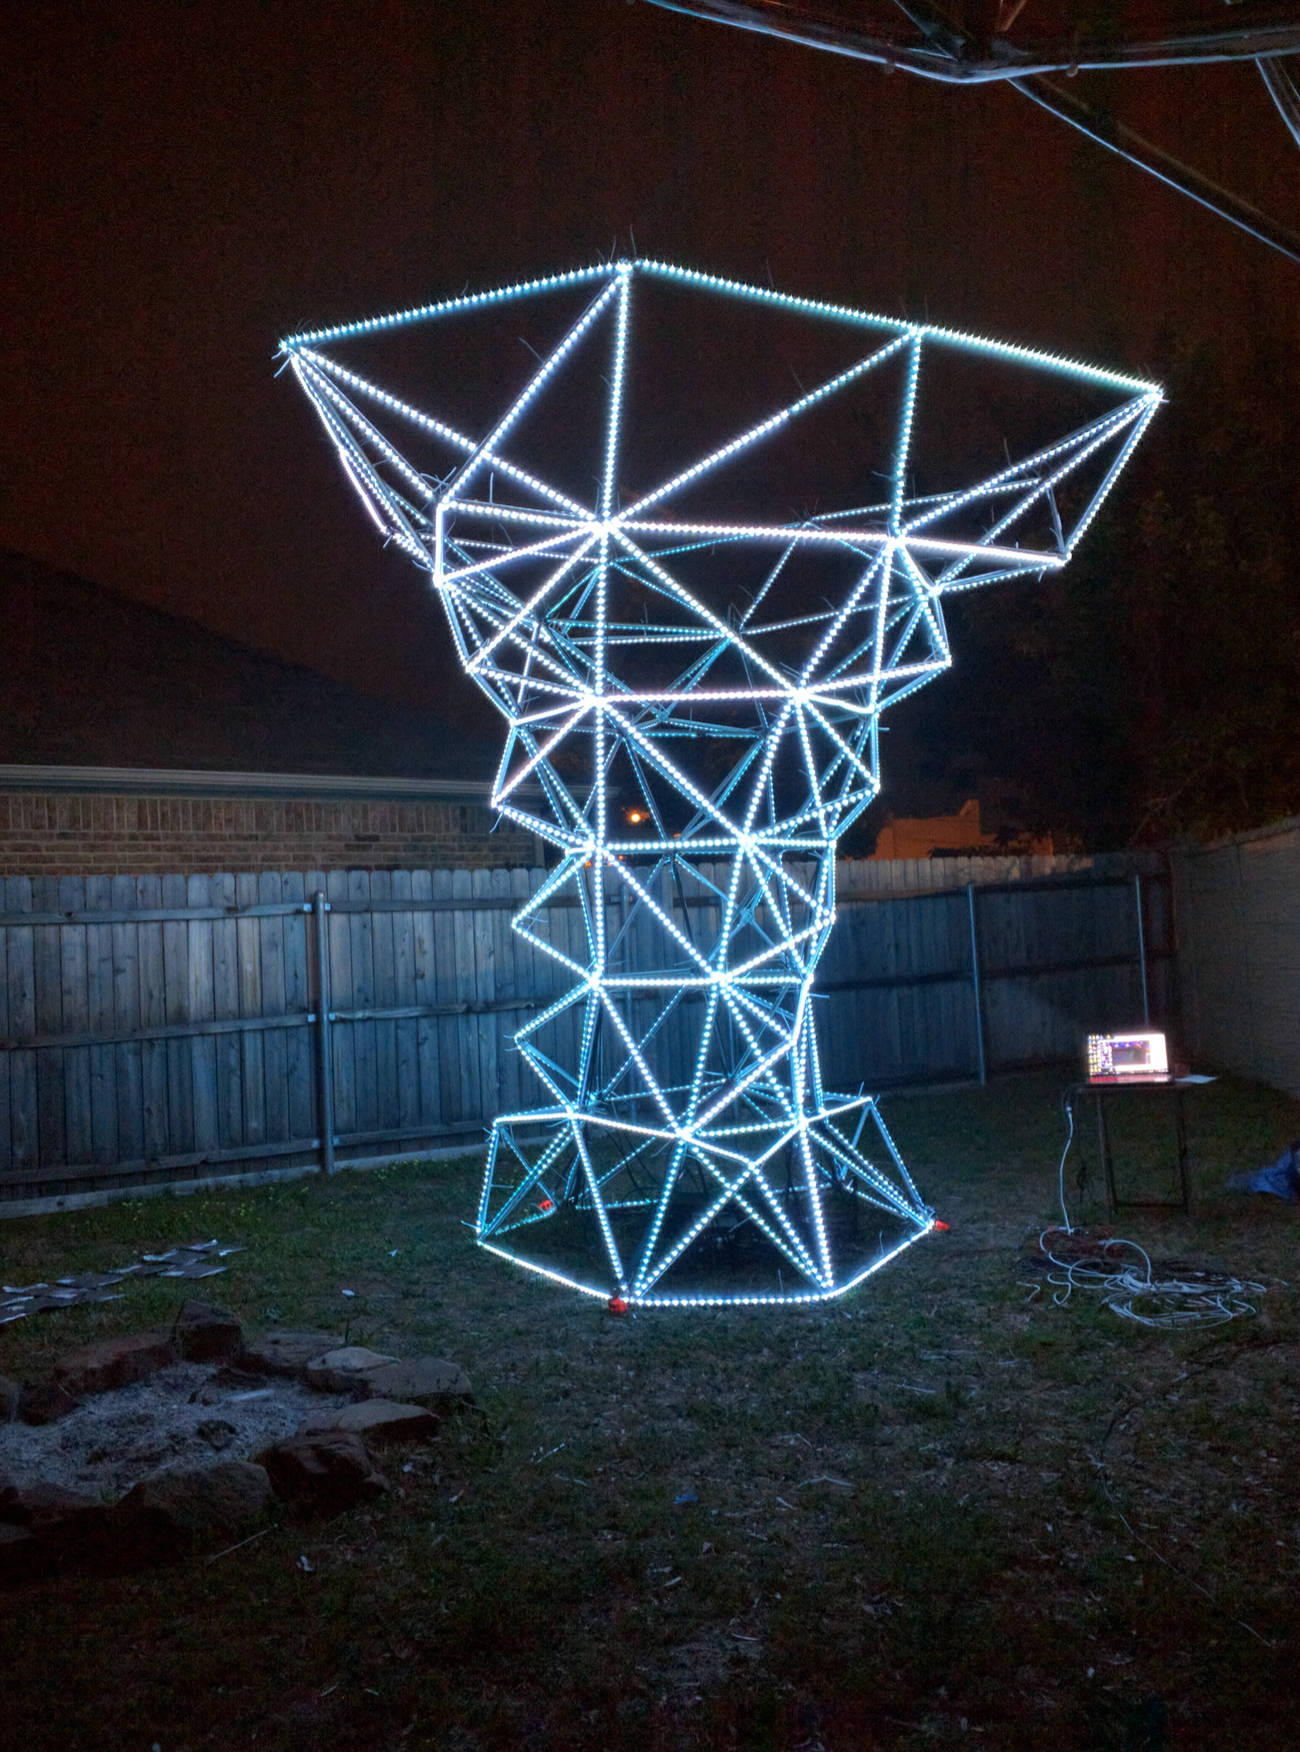
Since I had a 1:1 scale model of the structure, and it was getting built to that same scale I was able to begin preparations of the pixel map, and wiring diagram for minimal cable cross over and balanced pixel length across strips. This was somewhat of a trial and error process, but there was a symmetry of thirds to the 3D model so that ended up helping to reduce the amount of work by nearly 1/3.
Every cable and led strip had a label, because they were all unique and needed to be identified. In order to have spares, I just kept some full length led rolls and long extra patch cables that could be cut down to any shorter size, if needed.
Oh yeah, and I bought a binder for organizing all of these schematics, wiring diagrams and tables.
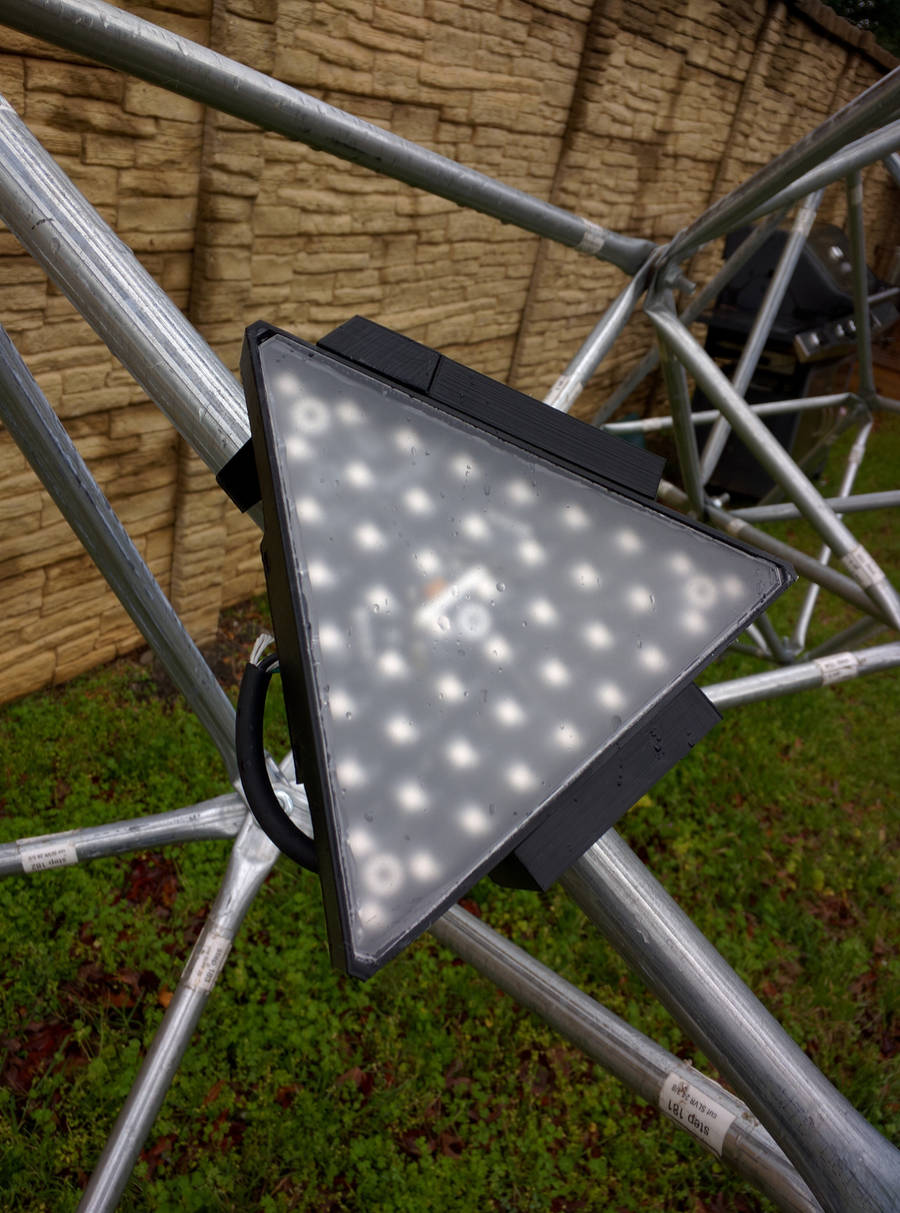
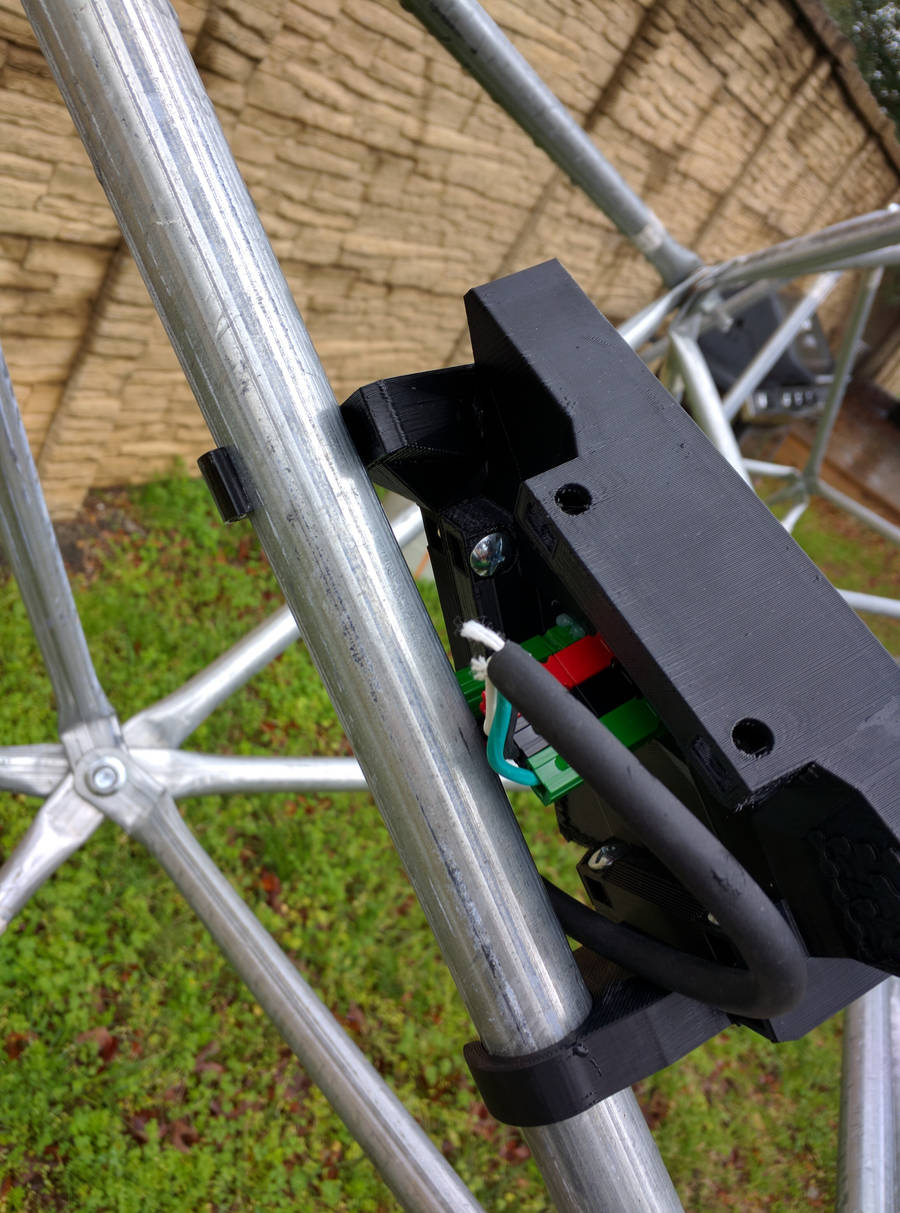
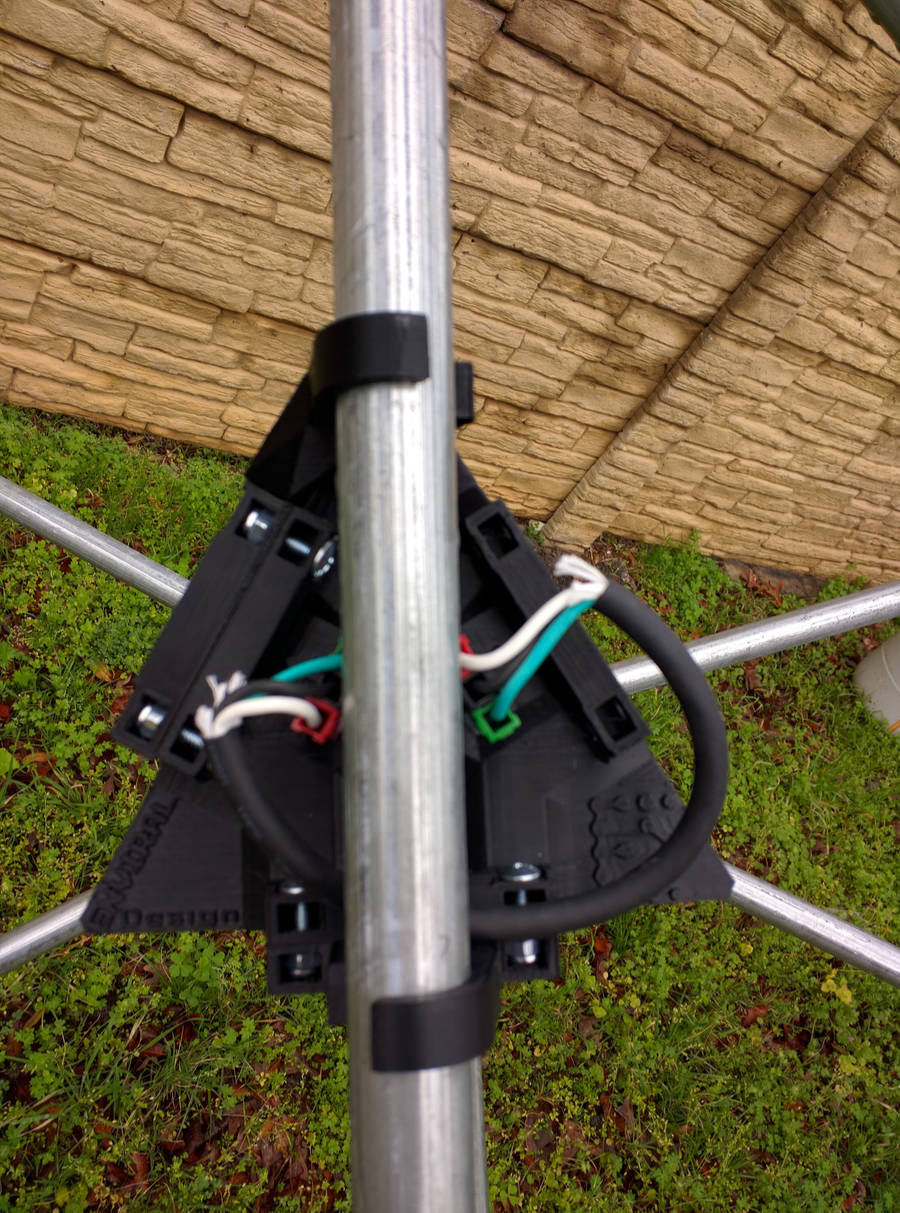
3D printed LED panels
I also had planned several rings of led panels around the center of Event Horizon, though at first I was experimenting with attaching them to the outer shell, I ended up not going this route simply because there was so much attached to the bars already, with the cables, zip-ties and led strips covering every single one.
Strip Validation
Not the most fantastic pattern, but a necessary step. Once I got all strips validated, and confirmed that the last pixel on the physical strip matched the last digital pixel, and that the strip's path on the structure was the same etc. It was now time to take it all down, after all this was just the trial run.
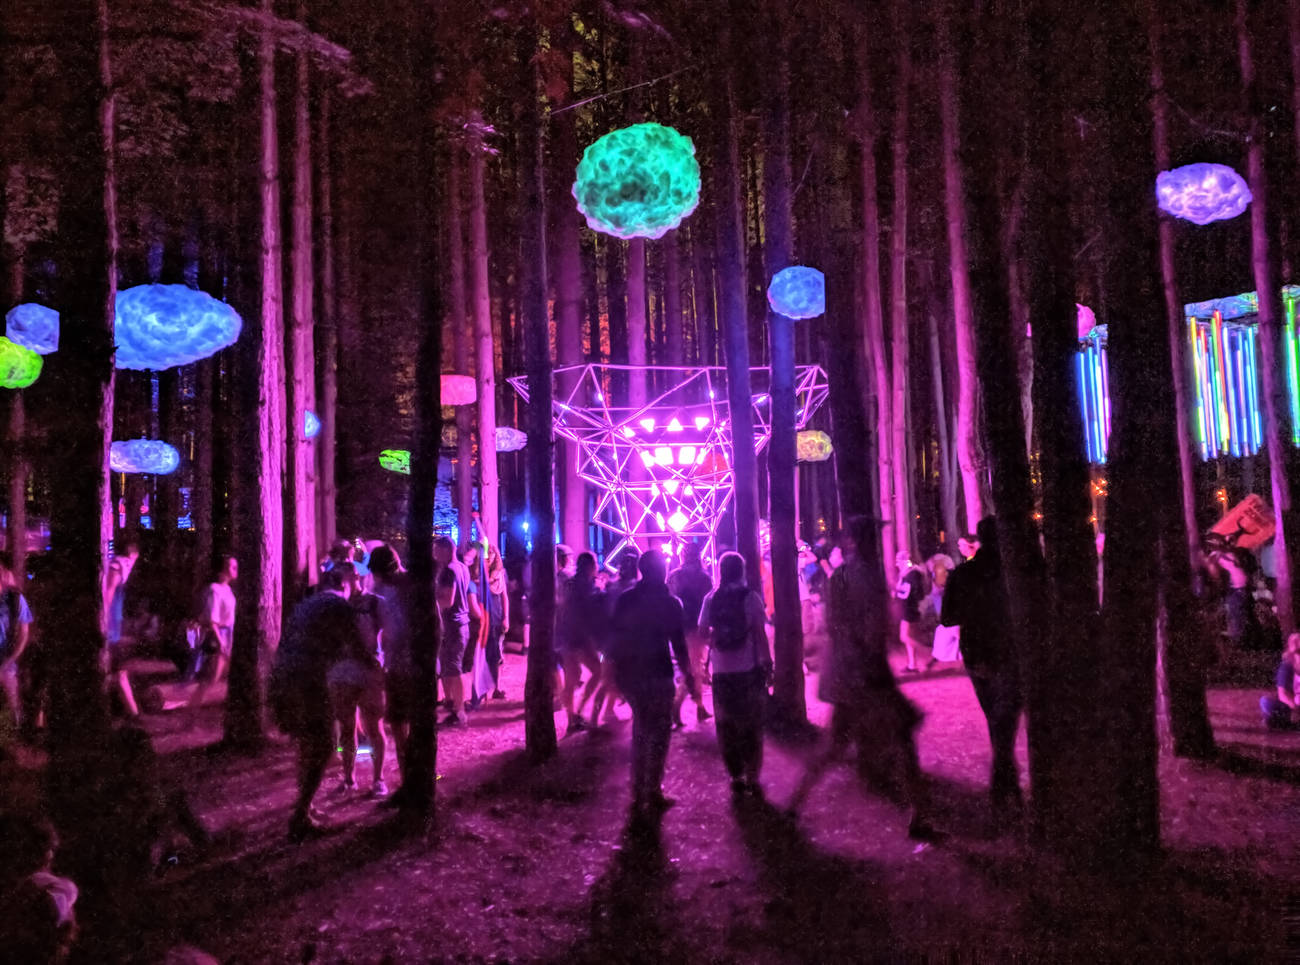
The Forest
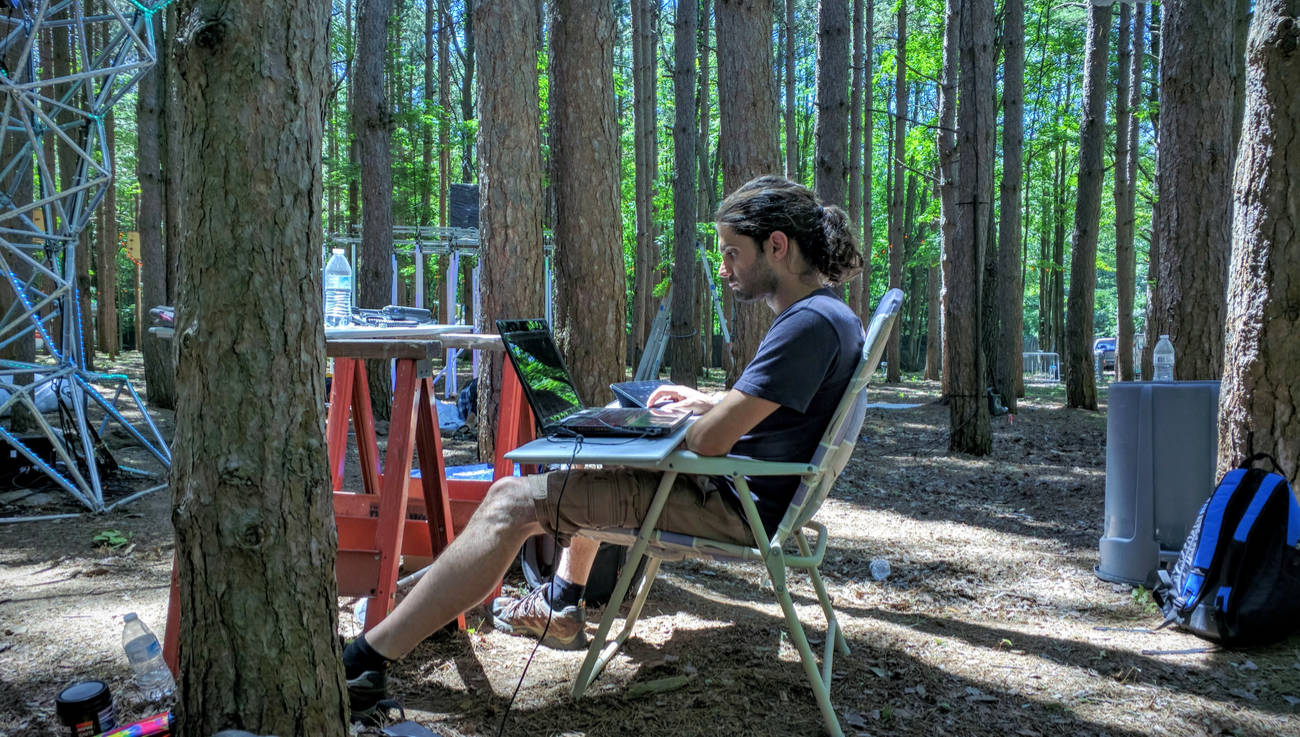
I could have probably gotten away with not doing the previous trial run, but I really wanted the onsite portion to go as smoothly and quickly as possible. It's always worth it to me. Our team finished up the structure and the leds ahead of schedule with plenty of time left over at the end to tweak the programming and patterns, tidy up the cables, and clean it up.